Avocado Dye
Who isn’t excited that avocado pits and skins make a perfect pink dye.
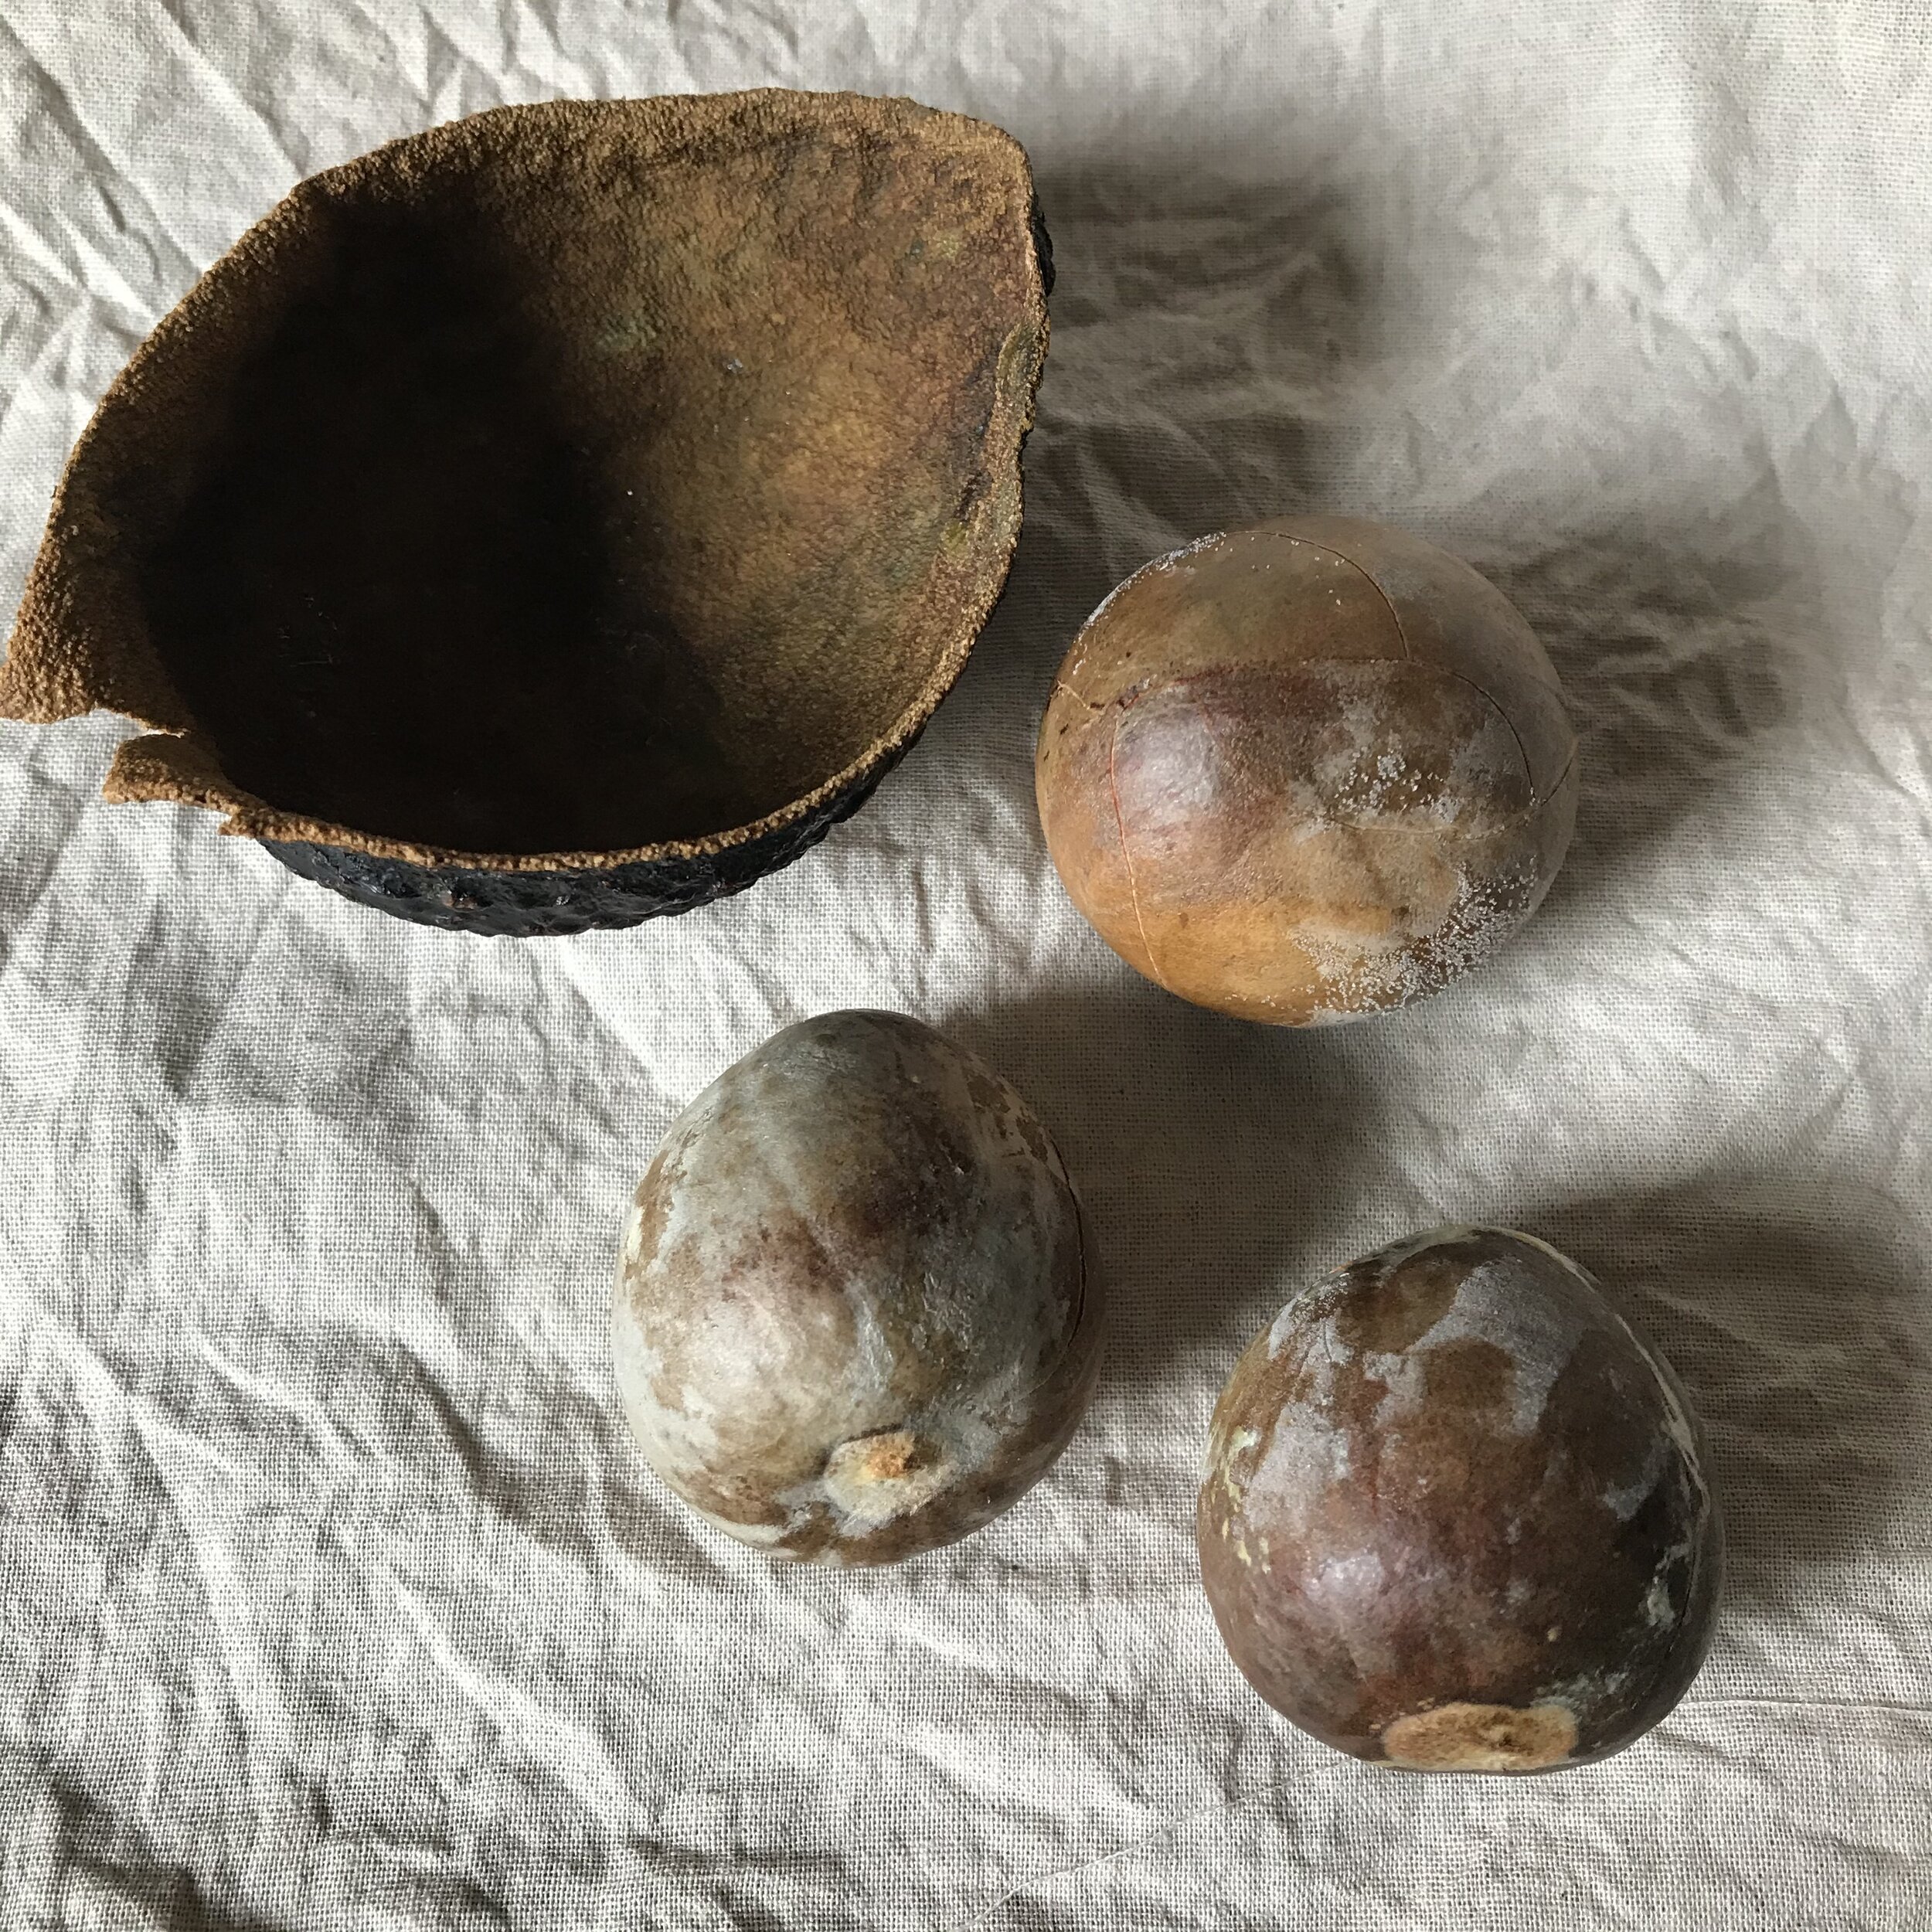
The best part about collecting your dye materials is eating the delicious avocados. Every time you have one of these “alligator pears” (this is what they were called when avocados were first introduced to the United States), clean any green flesh from the skin and the pit and save in a zip top bag in the freezer. This will insure your pits and skins won’t go moldy before you are ready to dye with them.
Avocados will create a range of peachy pinks to more saturated pinks depending on the amount of dyestuff you have and the kind of fibers you are dyeing. Silks and wool will take the color a bit stronger while cottons and linens will yield blushy peach pinks.
Always use natural fibers with naturals dyes. Silk shirts from the thrift stores are great for natural dye experiments. As are older clothes that can be made new again with color. Wash fibers before dyeing to make sure all the factory chemicals are no longer clinging to the fabric, allowing the color to create a better bond.
Avocados make for great dye. Not only is the color beautiful, but the skins and pits are high in tannins. This is a chemical found naturally in many food items (red wines can be very high in tannins, and you can taste the acidity from the tannins in them). Dye particles and fabric particles need a little help to bond together. Tannins help create that bond, so your dye will last longer.
All natural dyes will fade a little bit here and there. They are natural living things and have a life of their own. Some dyes hold up to washing and sunlight better than others. These dyes are more substantive than others. Dyes such and indigo and weld are very substansive, meaning they stay vibrant for many washings and sun light.
Avocado dye is fairly substantive, and the tannins in the fruit make it so. The great thing about natural dyes is you can always re-dye a piece if you want more color at any time.
You’ll need as little as four pits to as many as thirty pits and skins to make a dye bath. This is up to you and how many pits and skins you might have on hand, and how diligent you are about saving them. Less dye material will yield a lighter color and more dye material will make a stronger dye.
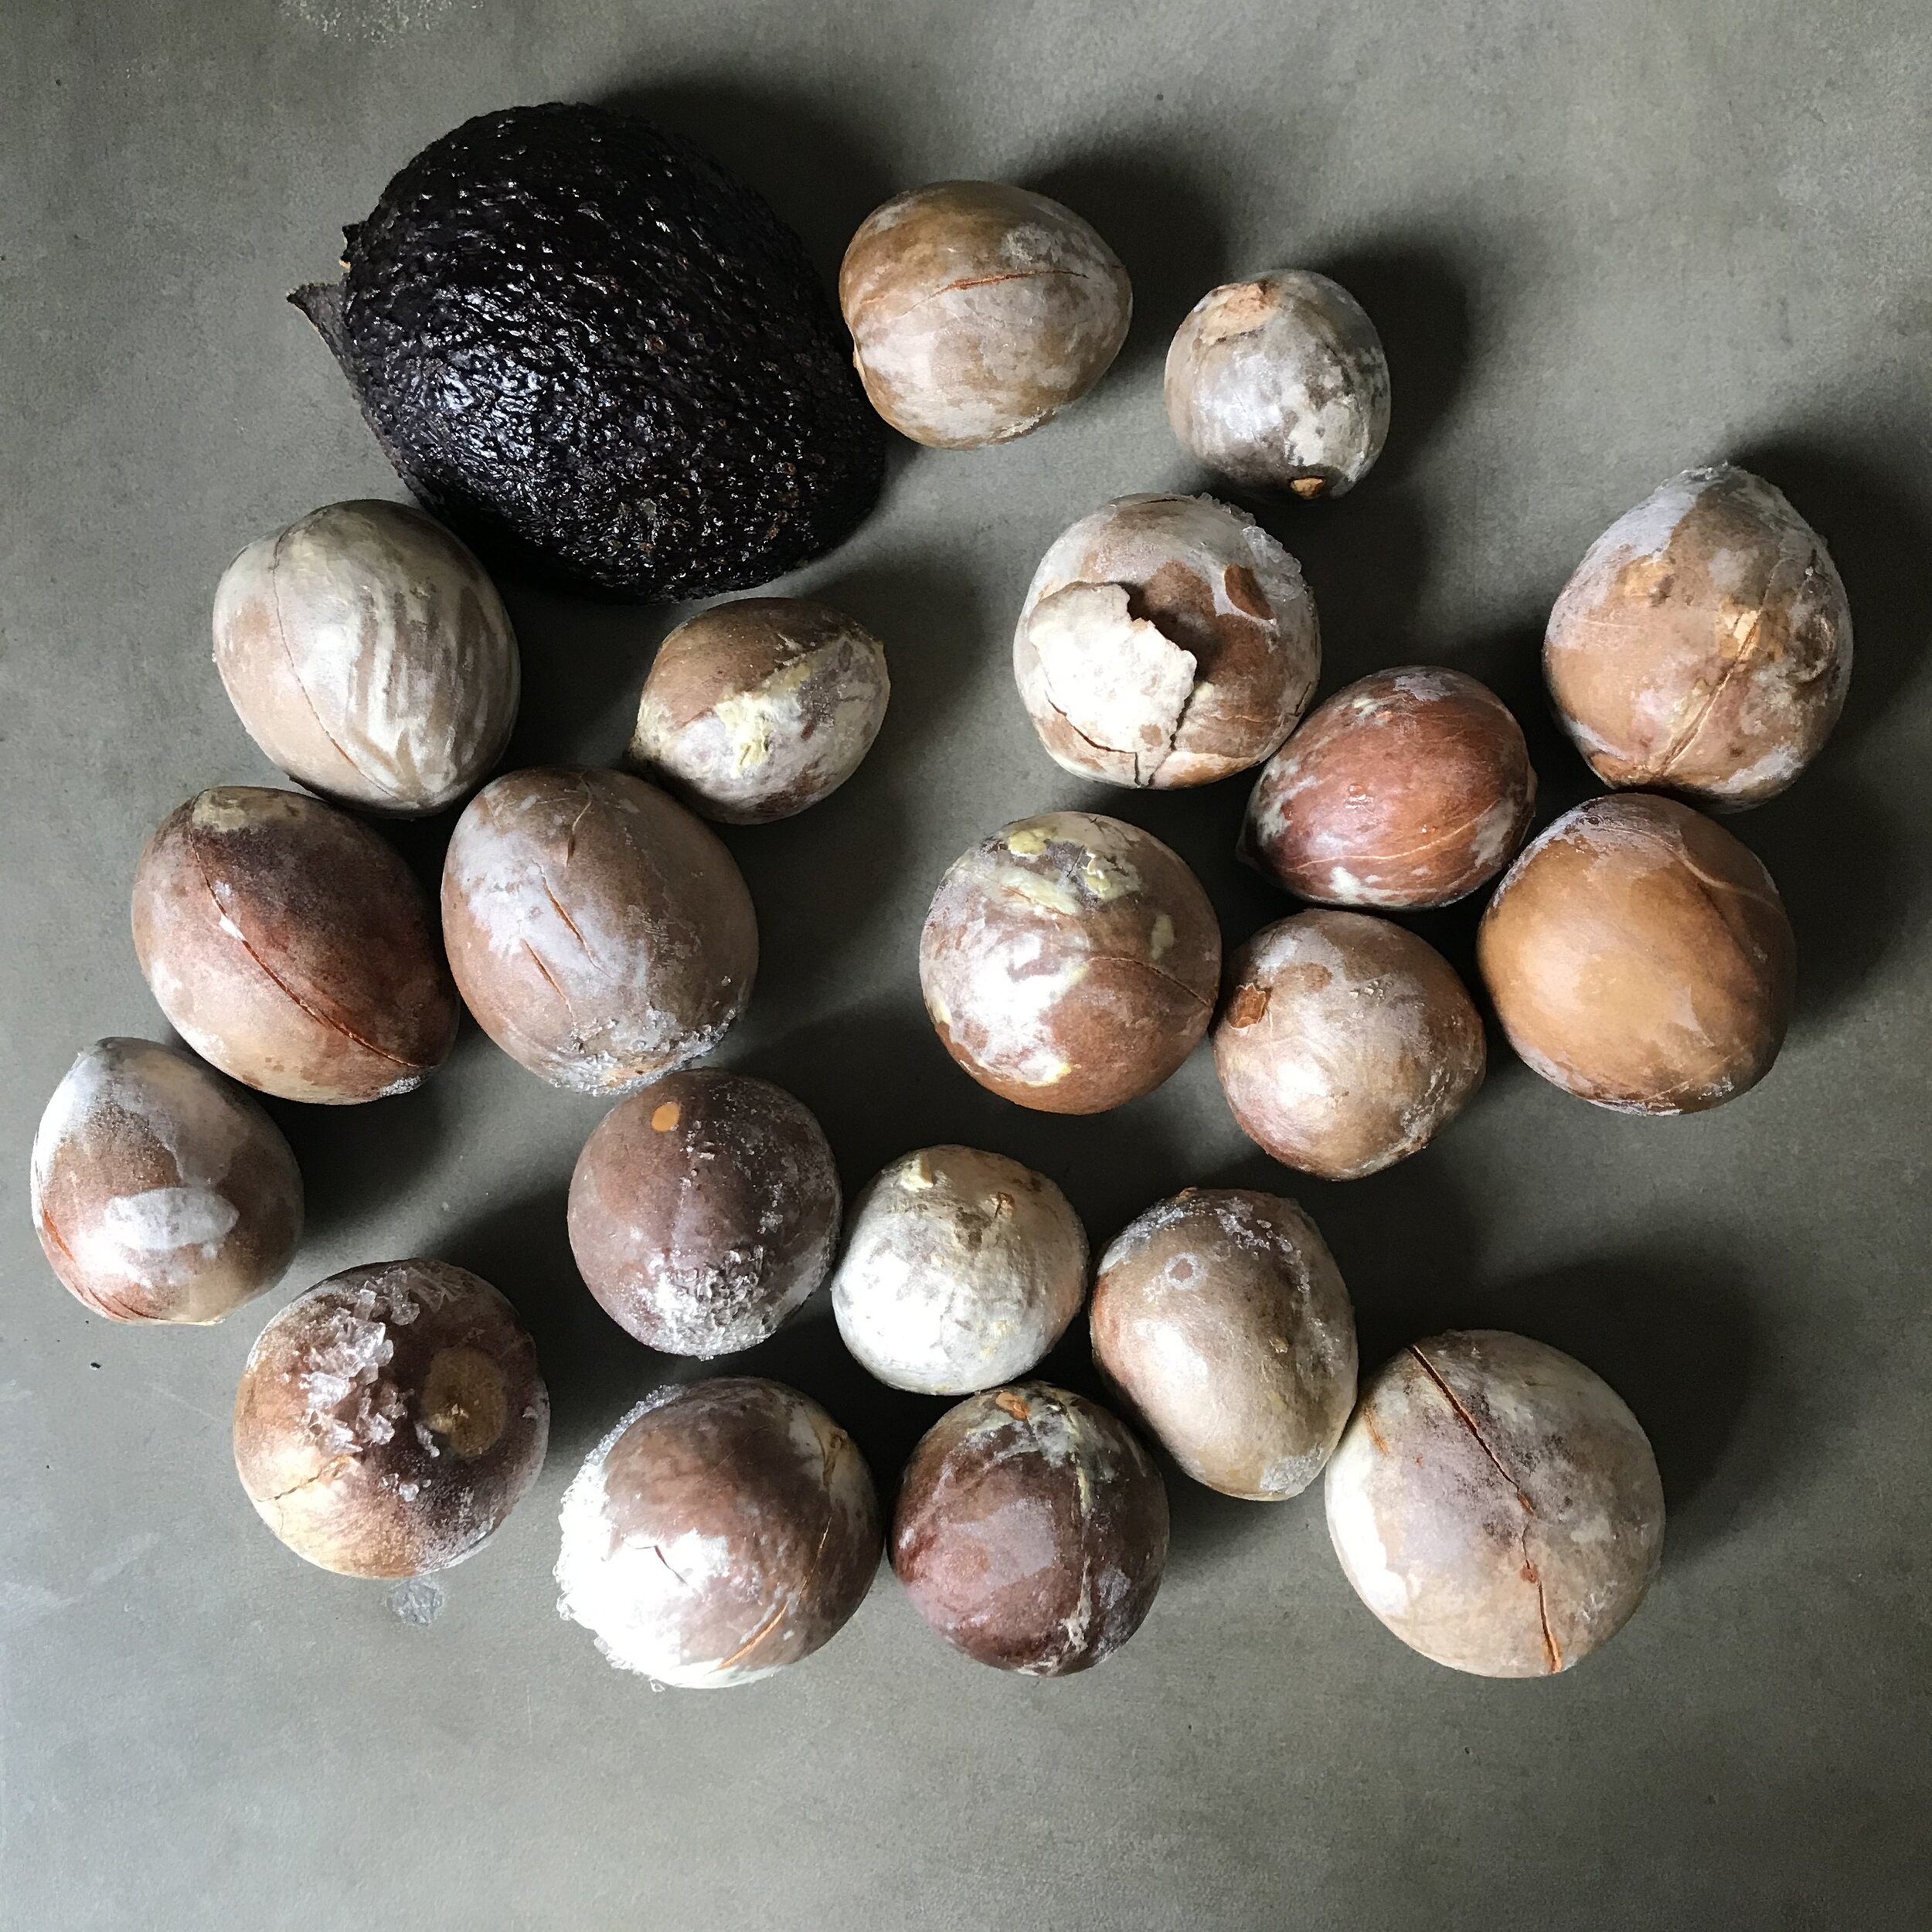
Other factors that will determine the dye color is the length of extraction from the dye stuff and how long the fibers soak for. And for the always variable, we are dyeing with natural dye material. every batch will vary a bit because not every avocado pit is exactly the same.
For this tutorial, we will be using 25 pits and one lonely skin (I was saving pits for a long time and not the skins. This skin is from a recent snack). The dye will be extracted over a 48 hour period that includes simmering the avocado pits for one hour at a time, done 5 times within the time frame.
You can boil the avocados once and still get a color from them, but the longer you can extract the dye, the more saturated your end result will be. This is entirely up to you and your color preference. Also know that you can do an initial dye for the deepest color, then reheat the dye pot and do a second round of dyeing for a lighter shade.
What you will need:
7-25 avocado pits and skins.
a non reactive stock pot (stainless steel or enamel are both good choices) if you have a pot dedicated to only dyeing that is best.
tongs or a small mesh strainer for removing the pits and skins from the dye pot. a slotted spoon also works.
natural fiber textiles for dyeing, such as silk scarves or cotton t-shirts.

To start, you will fill your pot with water, place it on the stove top and add your pits and skins. Turn the heat on and bring to a simmer. Simmer the pits and skins for an hour and let cool. Never ever leave an open flame unattended. You will simmer your dye 5 times over a 48 hour period. This is what my dye schedule looks like.

Adding the pits and skins to the dye pot filled with water.

All the pits and skins ready to boil.
Day 1- 11:00 am simmer pits and skins for 1 hour. Turn off heat and let cool.
5:00 pm bring the heat up again and simmer the pits and skins for another hour. After an hour, turn off heat and let cool. Let the dye continue extracting over night.
Day 2- 11:00 am Say good morning to your dye and place on the stove and bring back to a simmer for and hour. Turn off the heat and let it cool down.
5:00 pm Turn the flame up and simmer for one hour. You’ll start to notice how deep the dye color is getting. After an hour turn off the heat and let rest over night.
Day 3- In the morning, bring your dye to a simmer for one more hour. Let cool. You will want to make sure your dye is completely cool before removing the pits and skins.

Boiling the dyestuffs.
If you only have one day to extract the dye, that’s ok. If you have the whole week to heat and cool your dye that’s great too. There is no right or wrong way to do this. The color you will get depends on so many factors. Keep dyeing, and keep a record of your process and results and have fun experimenting.

The Avocado dye after two days of extraction.
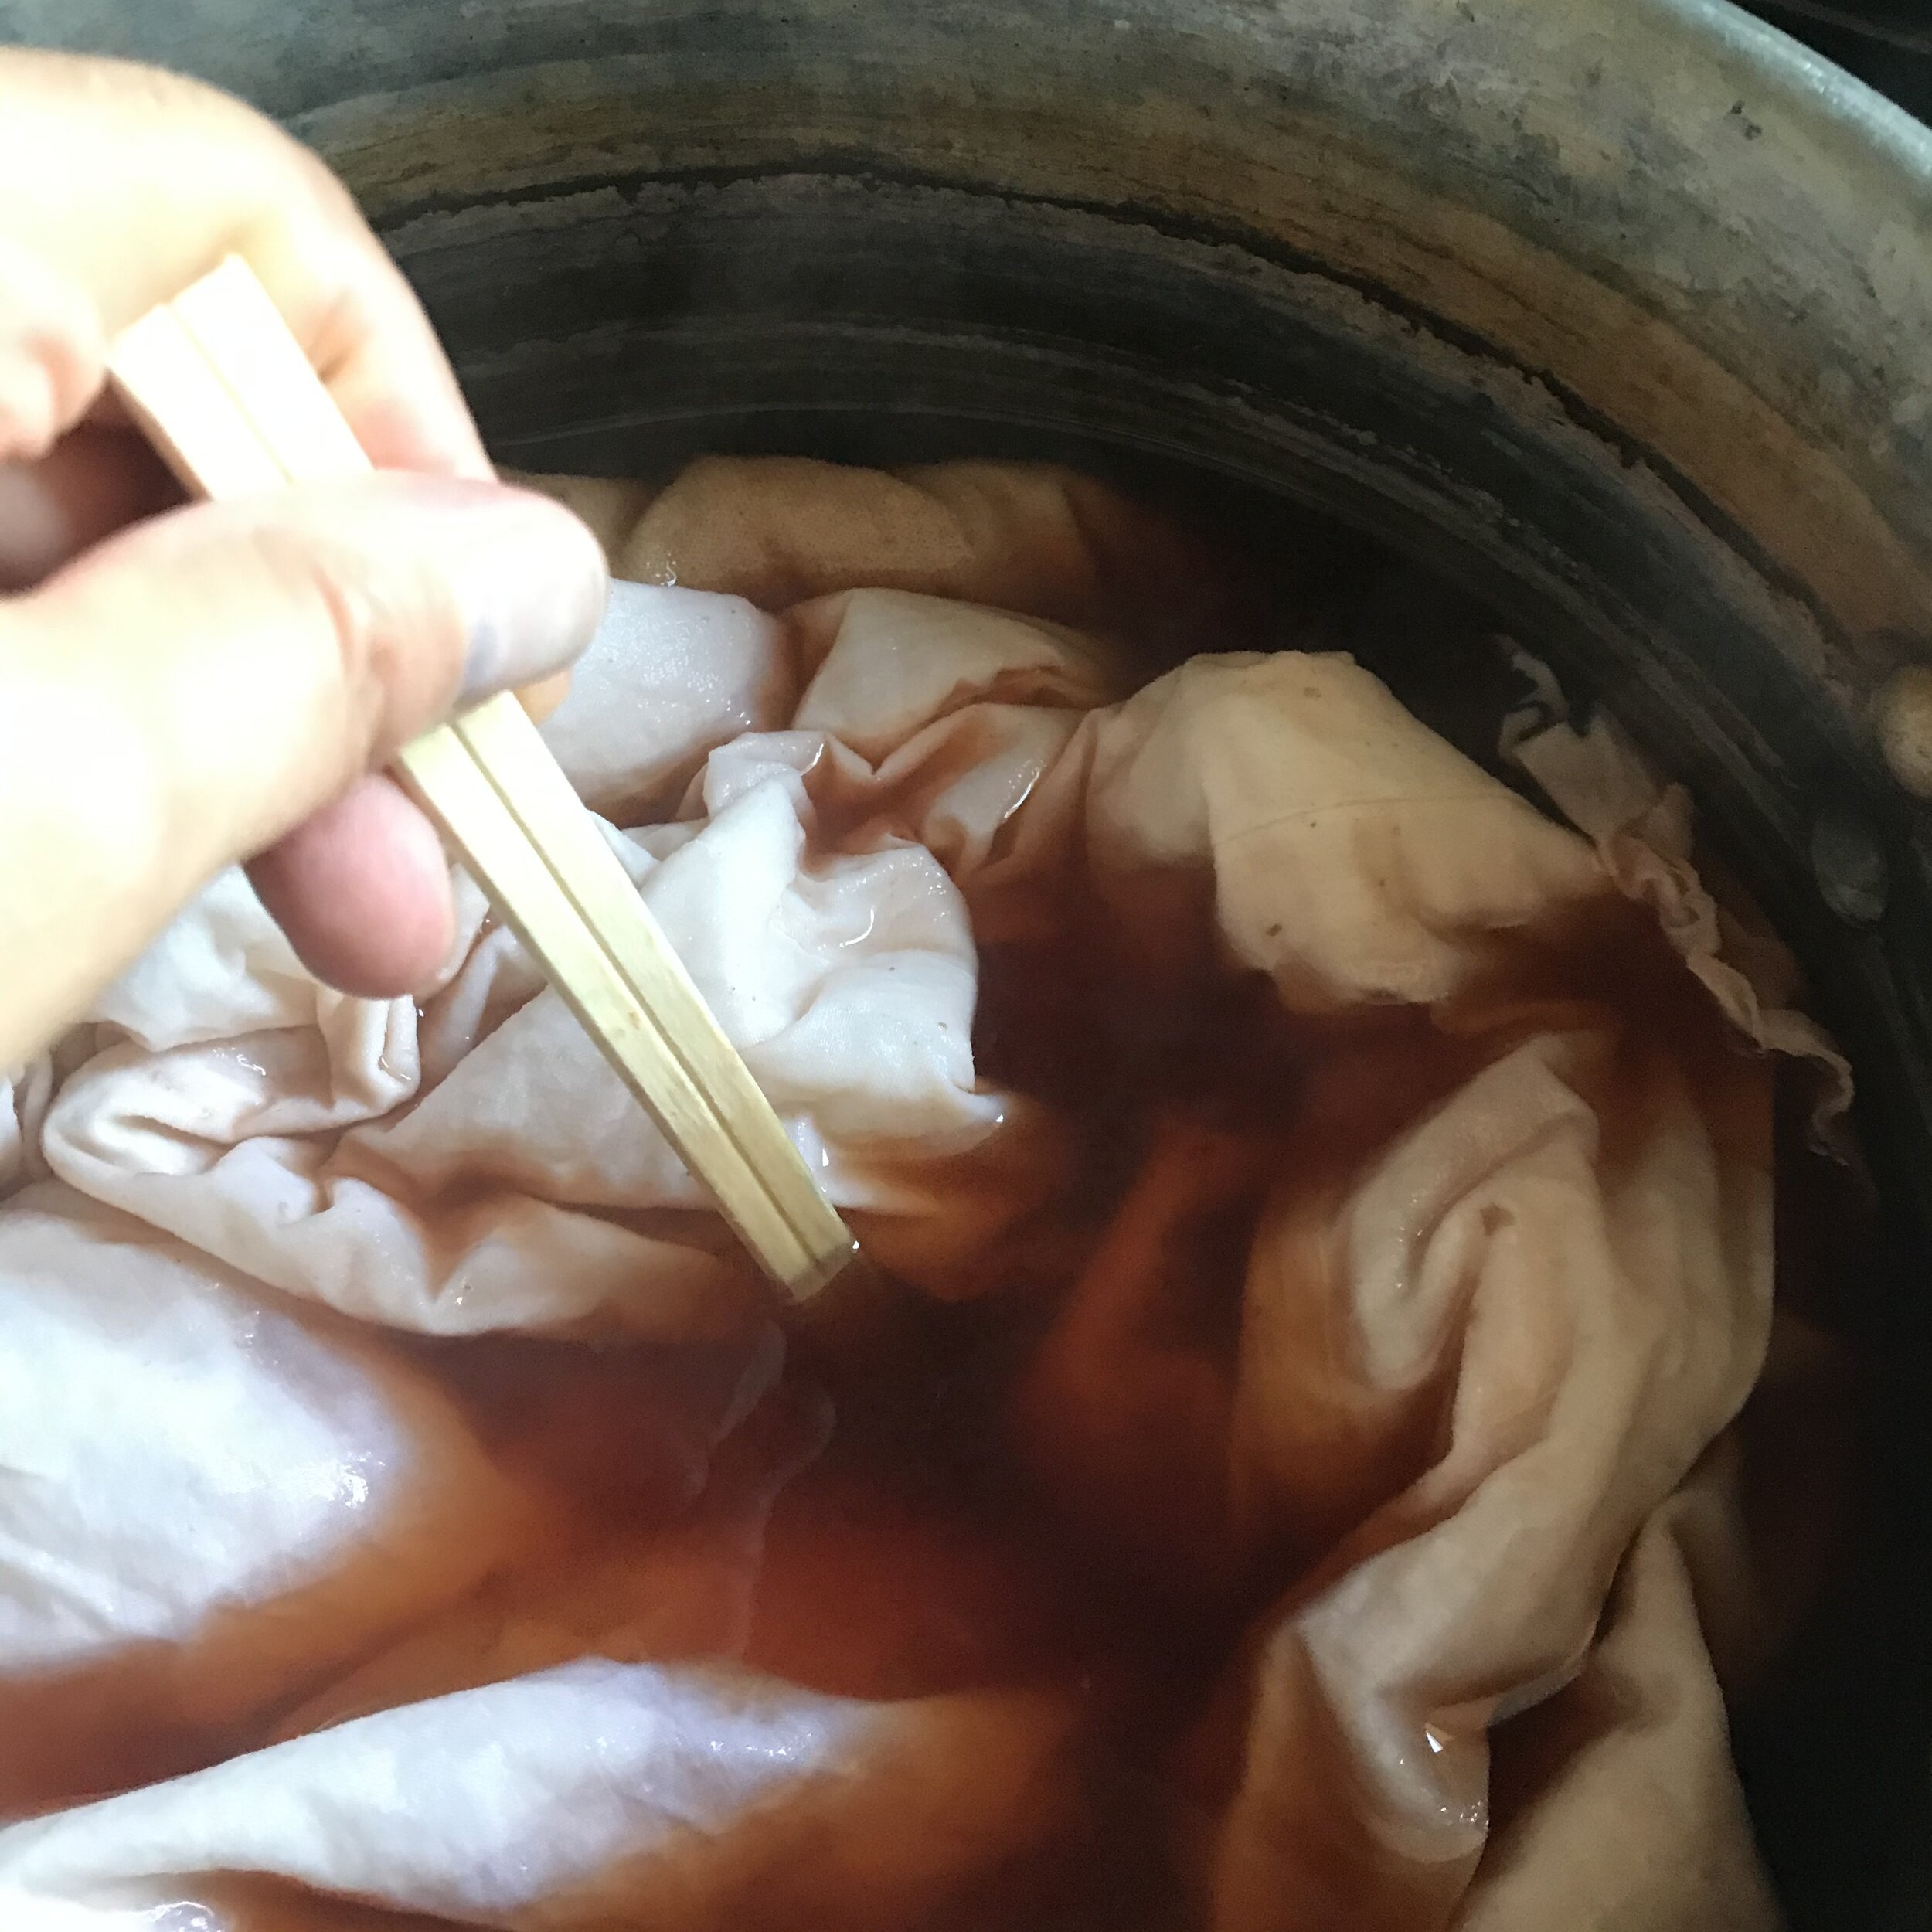
Once your dye has cooled down from the last simmer, its time to remove the pits and skins. I do this with a mesh stainer, but any utensil you have on hand will work. You can save the pits and skins and extract more dye from them, or toss them in the compost.

Removing the pits and skins with a mesh strainer once the dye has cooled.
Grab the textiles you want to dye and soak them in a bowl of water. Make sure every fiber is wet, this will ensure an even color to your whole textile. If you can, soak your fiber for at least 45 minutes.

Soaking the textiles in water for one hour.
After your dye liquid is free from all the dyestuffs, bring the dye back up to a simmer. Once the liquid is at a simmer turn the heat off.

Strained avocado dye.

Wringing out as much water as possible from the fabrics.
Squeeze as much water out as you can from your soaking fabrics. Give them a little shake to get the winkles out and VERY CAREFULLY submerge them in the HOT dye. Use tongs or a wooden spoon, anything but your hands to push the fabrics into the dye. If you do not have enough dye liquid to cover the fabric, add hot water until everything is submerged.

Adding water to the dye bath.

The dye at its final boil.

First Dip!
Give a few stirs to make sure the fabric is not folded or twisted and the dye is able to get into any folds that have been created.
Using a utensil to fully submerge the fabric. Never use your hands. The dye is HOT!
This is where patience is much about dyeing as technique. Let your fabrics rest and steep for about 24 hours. Again, the length of time is up to you. You can soak the fabrics for one hour (I would not recommend less time) and still get a pink color. The longer you leave your fabrics, the stronger the color will be.

Submerged fabrics. Look at that pretty pink.
You can keep checking on the color. Once you are happy with the shade, you can remove your fabrics. Remember that fabrics, especially cotton and linen will dry 2-3 shades lighter when dry.

Fabrics that have been soaking overnight.
When you are ready to remove your fabrics from the dye, carefully wring any excess dye back into the dye pot. you can use this dye bath again to dye a lighter shade of pink.

Squeezing the dye back into the dye pot.

Rinsing the fabric in cold water.
Give the fabrics a rinse under cold water until the water runs clear and hang dry. Once the fabrics are dry give a quick iron on the irons hottest setting (if you are using silk, place another piece of fabric on top of the silk so it doesn’t burn) to set the color.

Hang to dry. You’ll notice that different fabrics will take the color differently. The shirt on the left was made from a bleached cotton muslin and the shirt on the right from an organic unbleached cotton terry.
If you have to wash your naturally dyed fabrics, do so with only cold water and a neutral pH soap. Hand washing is always best and hang dry.
Check out our other natural dye tutorials, ACORN DYEING and ONION DYEING and shop for our naturally dyed, sustainable clothing and accessories HERE.
If you like this post, let us know in the comments below. Sign up for the newsletter to find out when we give workshops and demonstrations and all the not so frequent Four Rabbit news.