Kitchen Dyes

From food scraps to spices, there are so many colors that can be found in the kitchen. In this tutorial, we will take a look at carrot tops, red cabbage, turmeric, and hibiscus tea.
Other dyestuffs that can be found in the kitchen are, once used tea bags and coffee grinds. These make soft browns and tans. Beets and berries also give a bit of color from light pinks and peaches. Pomegranate skins are high in tannins and make a great mordant for other dyes (tannins help dye colors bind to fabric) and makes a beautiful golden yellow dye on its own.
You can also check out my tutorials for Avocado Dyeing and Onion Skin Dyeing in the tutorials section of this website.
Before throwing those food scraps in the trash, give it thought, ‘What color will this make?’. Try experimenting with food waste before throwing it away, and always compost the used dyestuff if possible.
Note that some of these dyes will stand up to many washings better than others. Don’t let this discourage you from your natural dye journey. Know that you can keep dyeing an item until you get the color you want to achieve. You can always re dye and item or over dye with different colors to create new colors. There is no wrong way to dye.
A few things you will need before getting started. A stock pot in stainless steel or enamel. If you have a pot dedicated to dyeing that is always best. It is good practice to keep your dye pots and utensils separate from your cooking wear. *None of the foods we are using in this tutorial are harmful or toxic if you don’t have a dedicated dye pot.
A pair of tongs or slotted spoon, I use take away wooden chopsticks as stir sticks. You will also need fabrics to dye. Make sure these are pre washed natural fiber fabrics. Cotton t-shirts, linen napkins, or a silk scarf are good examples.
Remember to NEVER leave a flame unattended. Dye liquids are very hot. If you are dyeing with kids make sure they are supervised the entire time.
Let’s get started!
CARROT TOPS : Spring Green

Carrot tops.
You will want just the green part of the carrot. If you buy carrots at the farmers market most of those carrots come with the greens still attached. These tops are deliciously edible, but I think it’s fun to make dye with them.
I used about three carrots worth of greens, though I think a few more would have yielded a stronger color.

Carrot tops added to the dye pot filled with water.
I filled my dye pot about half way with water and added the carrot tops.
Turn the heat on and boil the greens for 30 minutes.

Boiling the carrot tops.
With the heat still on, VERY CAREFULLY, the liquid is VERY HOT, add your fabrics. Make sure your fabrics have been wetted and wrung out first. This helps the color dye more evenly. Never walk away from an open flame and check that there is always water in the pot so nothing burns.
Carefully submerging the fabric in the dye.
Boil the greens and the fabric together for 30 minutes.
After 30 minutes, turn the heat off and let the dye cool. The fabric will sit overnight in the carrot top dye.

Boiling the fabric and the carrot greens together.
In the morning, strain out the carrot tops and compost. Give the fabrics a rinse in cold water and hang dry. When the fabric is dry give a quick iron on the hottest setting for your fabric and iron to set the color.

The fabric after its been soaking overnight.

Dried and ironed carrot top dye on cotton.
RED CABBAGE : Light Baby Blue

Red cabbage.
You’ll need any where from a quarter to half a cabbage. More cabbage will yield a stronger color.
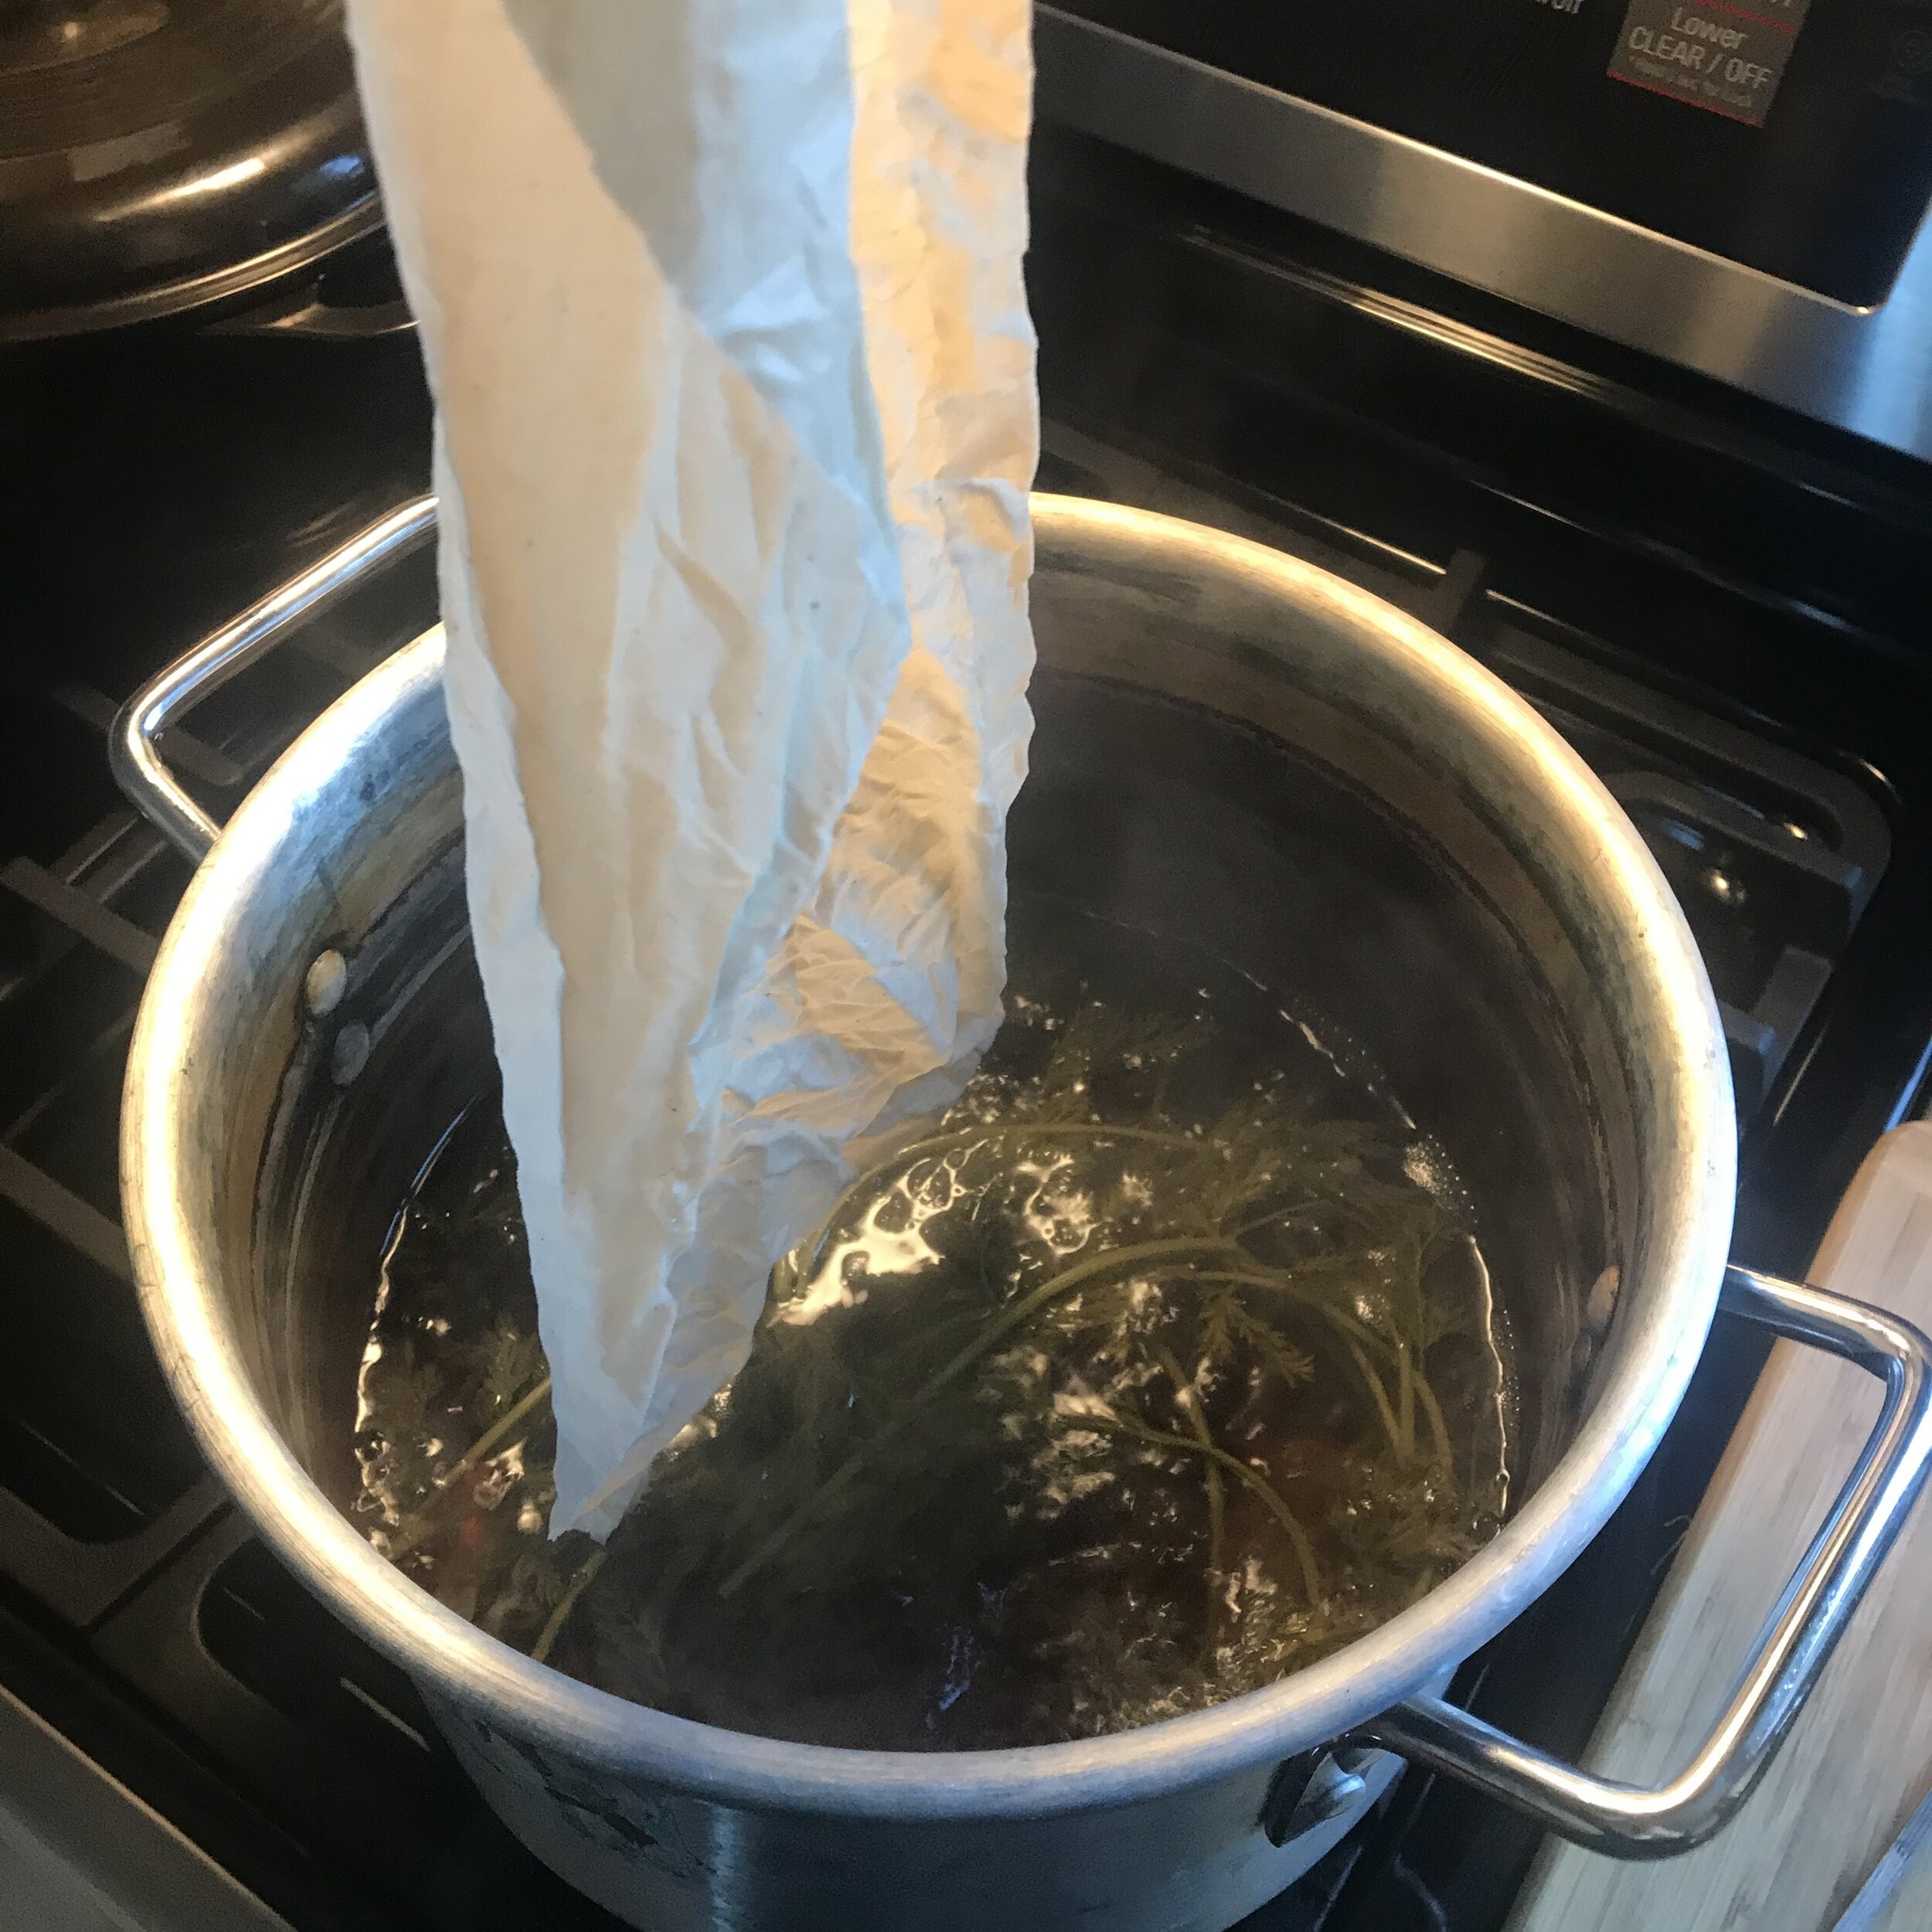
Chop the cabbage roughly and add it to your dye pot filled half way with water.
The cabbage after it has been roughly chopped.

Cabbage and water in the dye pot.
Bring the liquid up to a simmer and simmer for one hour.

Cabbage after it has been boiling.
Collect your fabrics to be dyed and soak in water until you are ready to dye them.
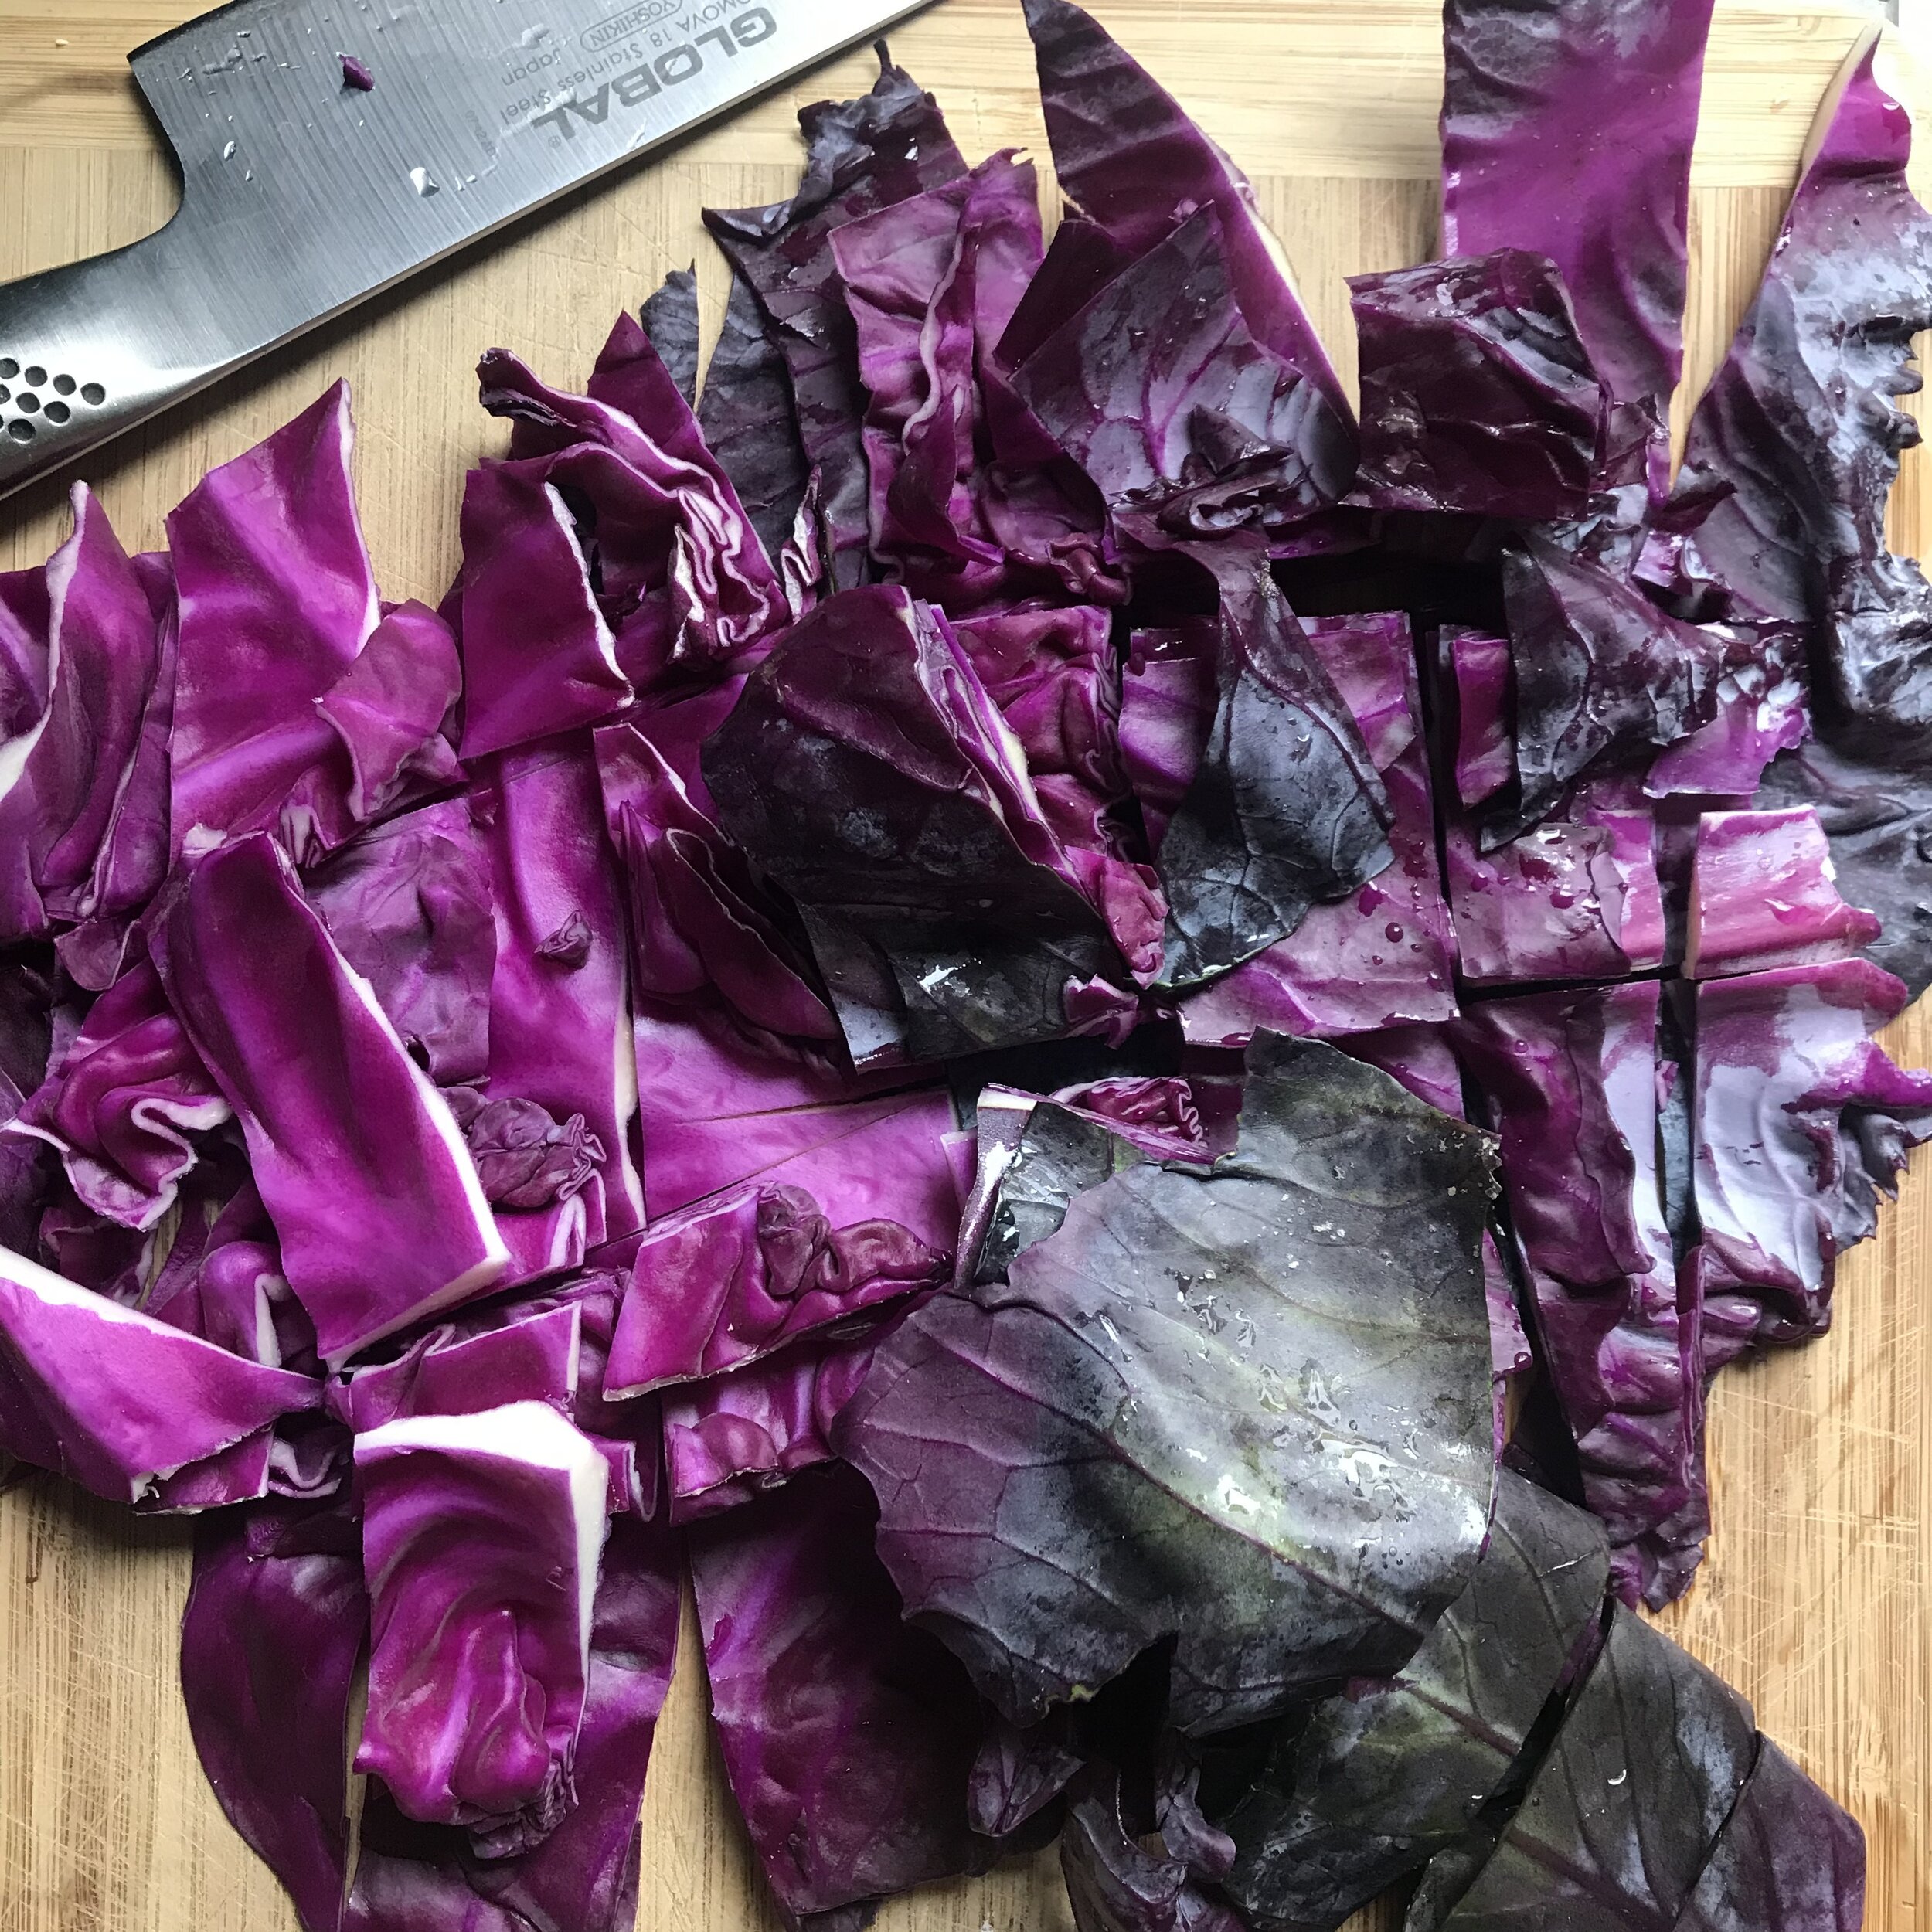
After an hour of making “cabbage soup” VERY CAREFULLY, this is SUPER HOT, add your wrung out fabrics.
Carefully adding pre wetted fabrics.
Continue to simmer the cabbage and the fabric together for 30 minutes.
After 30 minutes, turn the heat off and let your dye cool down.

Cabbage and fabrics soaking together.
When the dye is completely cool, 2 or 3 hours later, or sometime before you go to bed, strain out the cabbage. I used my hands, but any utensil you prefer will work.

Cabbage pieces removed. Please compost.
Let the fabrics soak in the dye overnight.

The fabrics, after they have been soaking overnight.
In the morning, remove the fabrics and give a gentle rinse in cold water and hang dry. Once dry, iron your fabric on its hottest setting to set the color.

Cabbage dyed fabric on the drying rack.
(I will mention the cabbage tends to color silks better and works well with a mordant on cotton fabrics. You can do this by boiling any material high in tannins such as avocado pits, acorns, or pomegranate skins in water for a few hours, then letting your material soak overnight in your tannic dye solution.)

A record of the cabbage dye with different mordants and fabrics.
You can see the range of bluey / purples using different mordants with the cabbage dye.
TURMERIC : Bright Yellow
Turmeric powder. Any brand will do.
Turmeric is a powerful spice. In cooking, a little goes a long way, and the same applies for dyeing.
Fill your dye pot up with water to about 2/3 of the way up, or totally full if you are dyeing a lot of material. You always want to make sure you have enough liquid to cover your fabrics with any kind of dyeing.

Soaking fabrics.
Gather your fabrics and let them soak in water until you are ready to dye with them.

A heaping spoonful of turmeric.
Bring the liquid to a simmer. While the water is heating up, add a heaping spoonful of turmeric to a cup or mug. Add a few ounces of HOT water to the turmeric and stir really well.

Adding hot water to the turmeric powder.

Mixing the turmeric and water together.
Once the water is at a simmer, add the turmeric water. Using a spoon, or chopsticks, carefully give the turmeric dye a few stirs.

Adding turmeric concentrate to the dye pot filled with simmering water.

Stirring it all together.
Squeeze any excess water from your fabrics and carefully submerge them in the turmeric dye.

Fabrics added to the dye pot.
Turn off the heat and give a few stirs.
Since turmeric is not water soluble, it will not totally dissolve in the water. To prevent darker splotches of turmeric on your fabric, give a stir every 10 minutes or so to keep everything moving.
Once the dye has completely cooled, about 2 hours, your fabrics should be a nice bright clear yellow. Remove the fabrics and give a rinse in cold water and hang dry. Once your fabric is dry, iron on the hottest setting for your fabric to set.

After two hours, the turmeric dyed fabrics rinsed and hung to air dry.
You’ll notice that there is still plenty of dye left in the dye pot. You can reuse this dye to dye more fabrics a lighter shade of yellow, or add more turmeric to keep dyeing bright yellows.
HIBISCUS TEA : Peachy Pink

Hibiscus tea leaves.
You can use dried tea leaves, or leaves that have already been brewed and destined for the garbage

Hibiscus tea leaves added to the dye pot.
Fill up your dye pot with enough water to cover the fabrics you are dyeing. For every 1/3 of the pot add about 3 tablespoons of dried leaves. More if you are using once steeped leaves.
Turn the heat on low and add the hibiscus tea. Let the tea gently heat up and try not to let it boil. Keep the flame on the lowest setting.

Soaking fabrics to be dyed in water..
While the tea is heating up, soak your fabrics in water until they are ready to dye.
Both hibiscus tea and turmeric are good choices for bundle dyeing. While we wait for the dye to heat up and extract, let’s make a little bundle just for fun.

Things you will need to bundle dye.
Wet your fabric for the bundle dye and lay on a flat surface. Make sure you can get messy since turmeric will stain unsealed surfaces.
Sprinkle hibiscus tea leaves and turmeric powder all over your fabric. You can use a little or a lot. Both will end in beautiful results.

Sprinkling tea leaves and turmeric on the damp bundle dye fabric.
Roll your bundle up tight, then wrap tightly with a string.

Rolling up the bundle.

Starting to tie the bundle up.

Wrapping the bundle tightly with string.
By now the tea has been steeping and is very hot but not boiling. Squeeze out any excess water from your fabrics and very carefully submerge them in the dye. Give a little stir.

The hibiscus tea after gently heating and steeping.

Fabrics added to the hibiscus tea dye.
Back to the bundle. Place a screen or colander on the top of your dye pot.

Wetting the bundle with white vinegar.
Soak your bundle in white vinegar or lemon juice. You can do this in a bowl and you can sort of massage the vinegar in.

A screen or colander over the dye pot with the bundle placed on top. Covered with a lid to steam the bundle.
Place your bundle in the colander and cover with a lid. The steam from steeping the hibiscus tea will activate the dyeing of your bundle! Two kinds of hibiscus tea dyeing at once.
Let the whole pot steam and steep on very low heat for an hour.
After an hour turn the heat off. Your bundle will be done steaming and your dye should be looking nice by now. If you have bundled something small, you can un do it now. If it is a larger piece, like a t-shirt, I suggest letting it rest in the bundle overnight.
If you are happy with your dye color, let it cool and rinse in cold water. If you are looking for a bit of a deeper color, let cool, then re heat on low for another 30 minutes to an hour and let cool again. You can repeat this process one time, or a few times.
When you are happy with your dye, let it cool completely. Take the fabrics out and rinse in cold water and hang dry. Iron on the fabrics hottest setting to set the color.

The bundle unwrapped and rinsed.
When your bundle is ready to un roll, make sure you are woking on a surface that can get messy. Carefully unwrap the string and unroll. There will be dye material on the front and back of the fabric. Gently rinse all of the dye stuff off in cold water and hang dry. Once the fabric is dry, iron on the fabrics hottest setting to set the dye.

Hibiscus tea after and hour soaking in the dye.
For a more comprehensive look at bundle dyeing, you can check out my tutorial HERE.

Hibiscus tea dye two ways. Immersion dye on the left and bundle dye on the right. Fabrics have been rinsed in cold water and hung to air dry.
If you liked this tutorial, let us know in the comments below. Sign up for the not so often newsletter to find out when we are doing workshops and other events.