pH Modifiers for Natural Dyes
pH Modifiers for Natural Dyes
The title of this tutorial may sound like you need a back ground in science to understand. But really its just a fancy way of saying you can change or modify the colors of your natural dyes using acids, vinegar and lemon juice, and alkalines like baking soda.
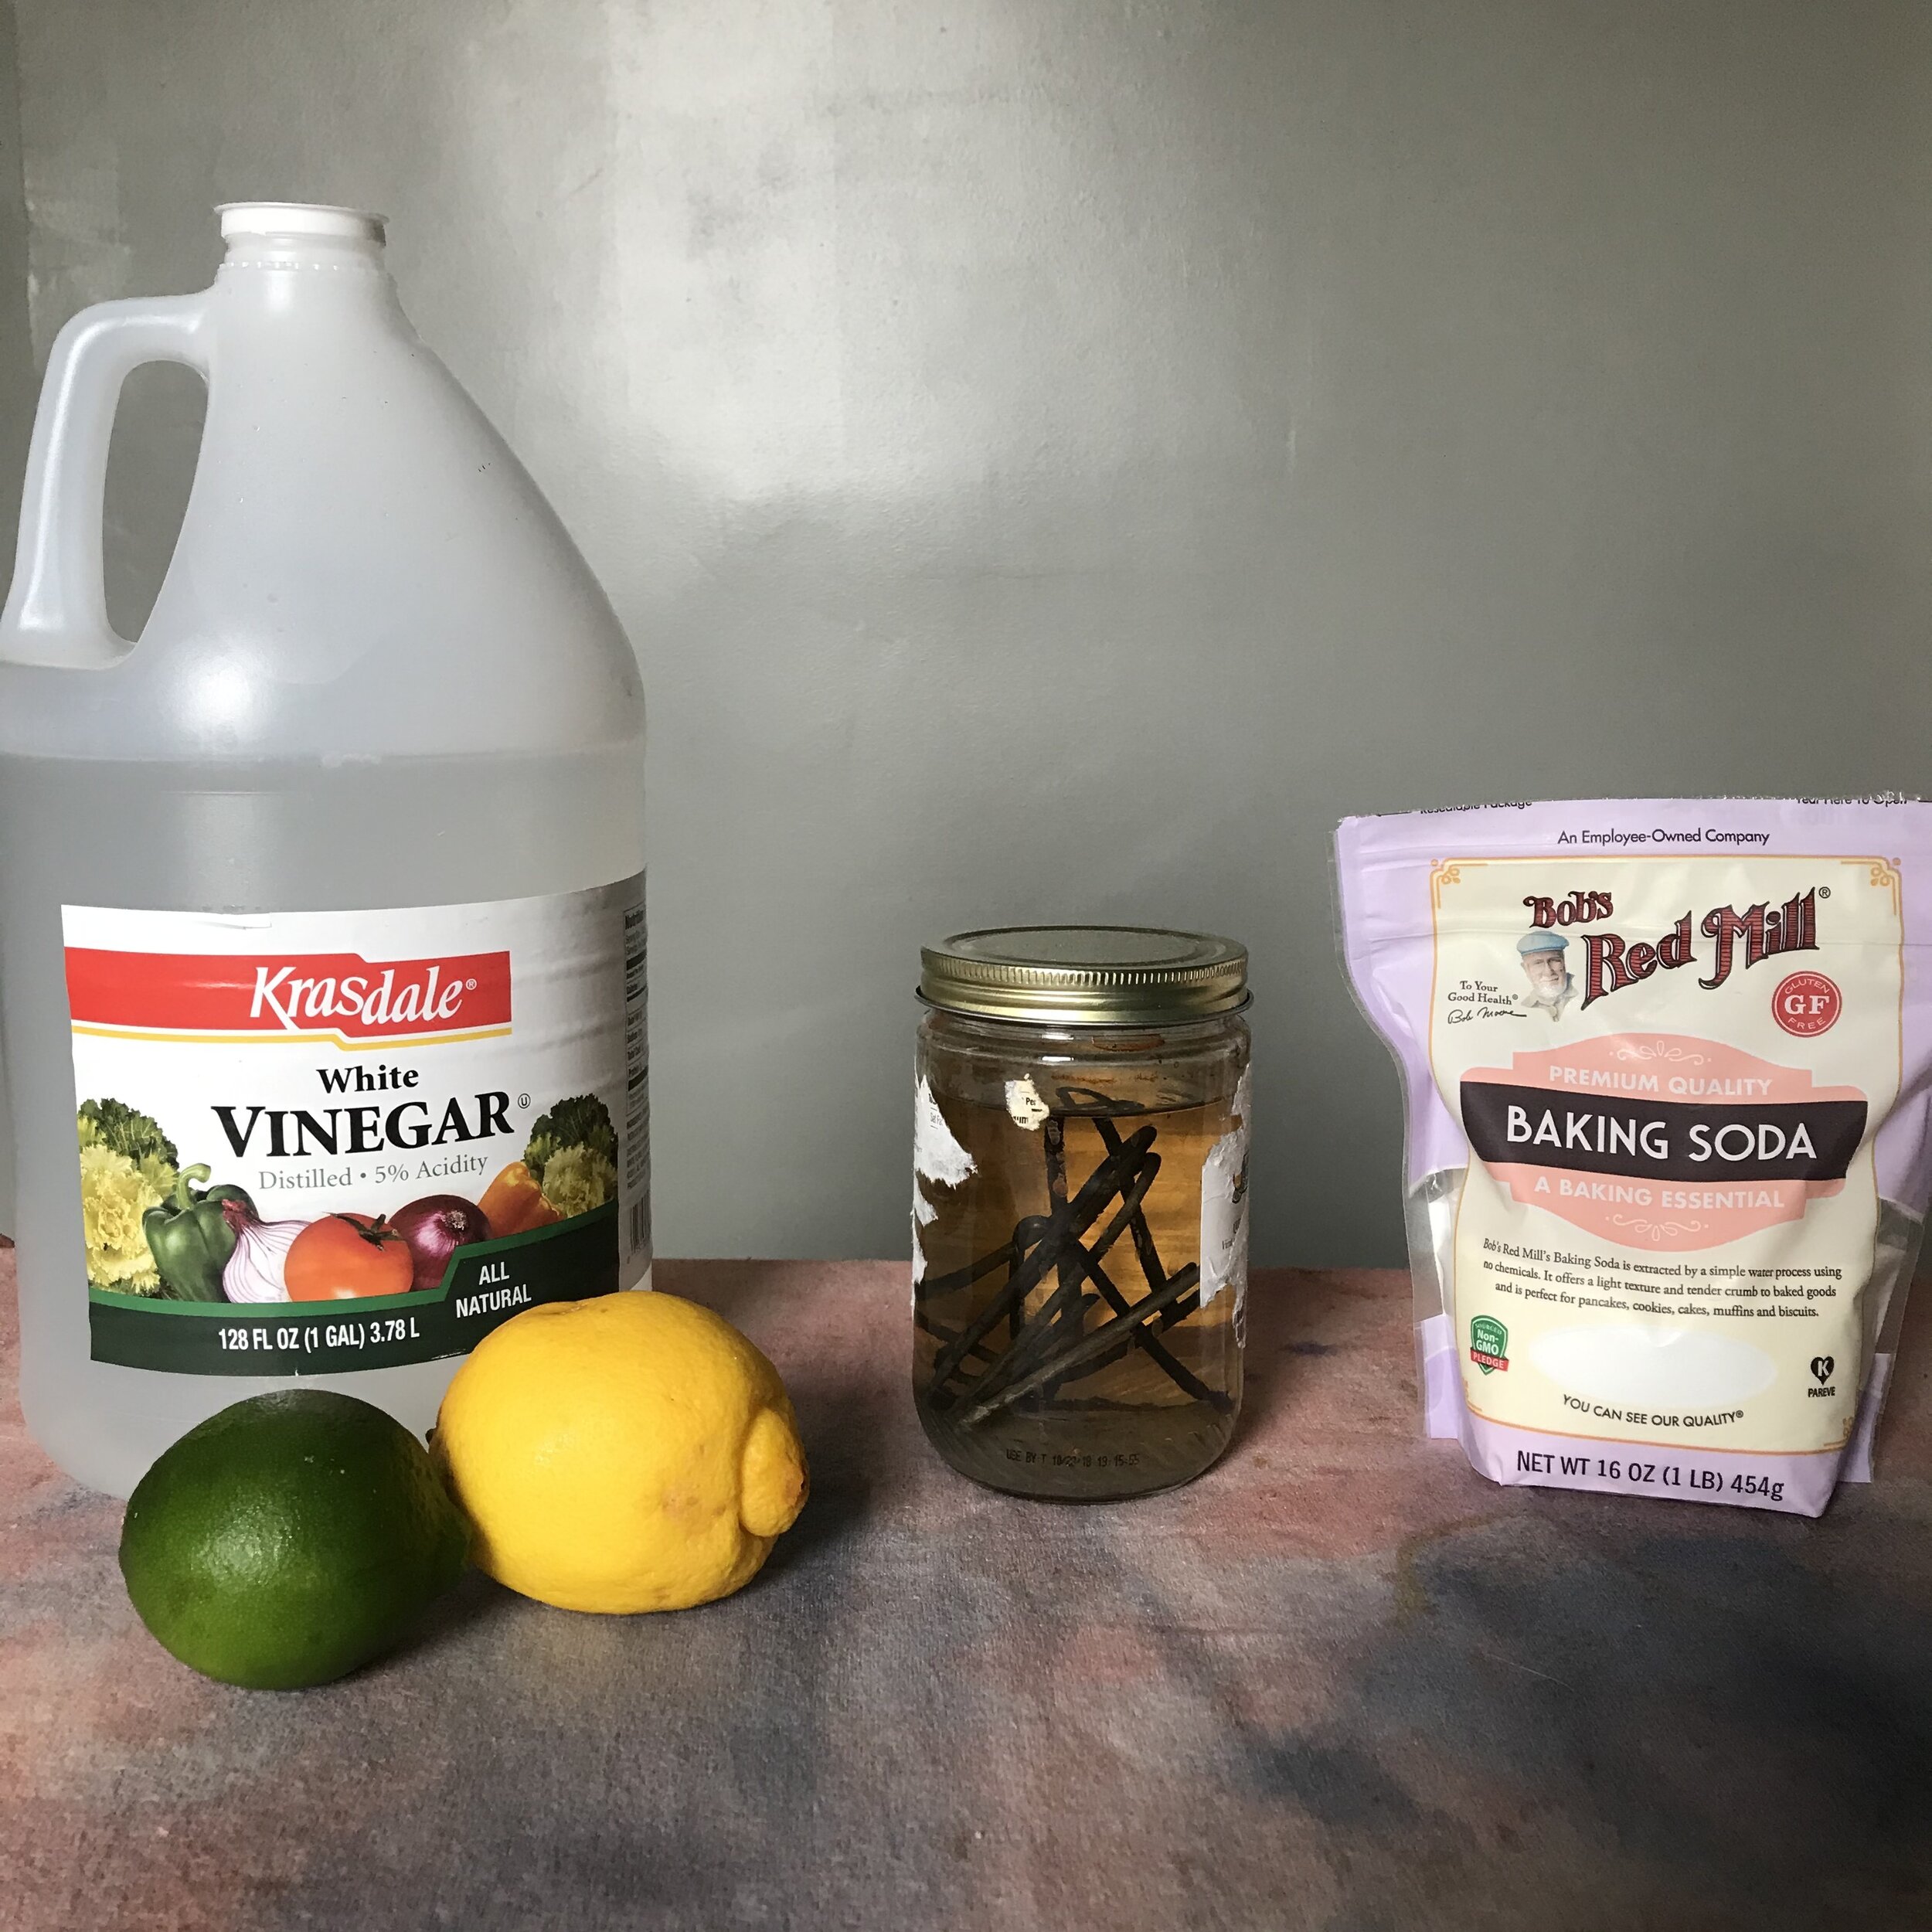
White vinegar, citrus fruit, rust liquor, and baking soda.
To add to acids and alkaline we will add rust, or a ferrous sulfate solution. A rust modifier will “sadden” or darken most dyes, and will also act as a post mordan. If you have read my other tutorials, I talk about mordants. In short, dyes need a little help permanently binding to fibers, especially cellulose fibers such as cotton or linen. A mordant, from the French word ‘mordre’ literally means ‘to bite’, helps the dye particles “bite” into the fabric fibers creating a permanent bond.
Mordants can be used before dyeing a fiber or after. In this case we are using it as a ‘post’ mordant. Or a mordant/ modifier that will alter the dye after dyeing the fabric.
Other modifiers can be used directly in the dye bath to change the color of the dye before dyeing your textiles.
For instance, Red Cabbage is quite sensitive to pH. At first look, with no modifiers it will be a bluey- purple dye. With a little vinegar, the color shifts to a bright magenta, and a little baking soda, the color moves to a bright blue-teal color. If a cabbage dyed piece of fabric is placed in an iron solution, the color will darken to a purple-gray.
So many colors, one tasty cabbage!
For this tutorial, we will be using white vinegar, baking soda and rust liquor.

Rusty metal garden stakes, vinegar and water in an old almond butter jar.
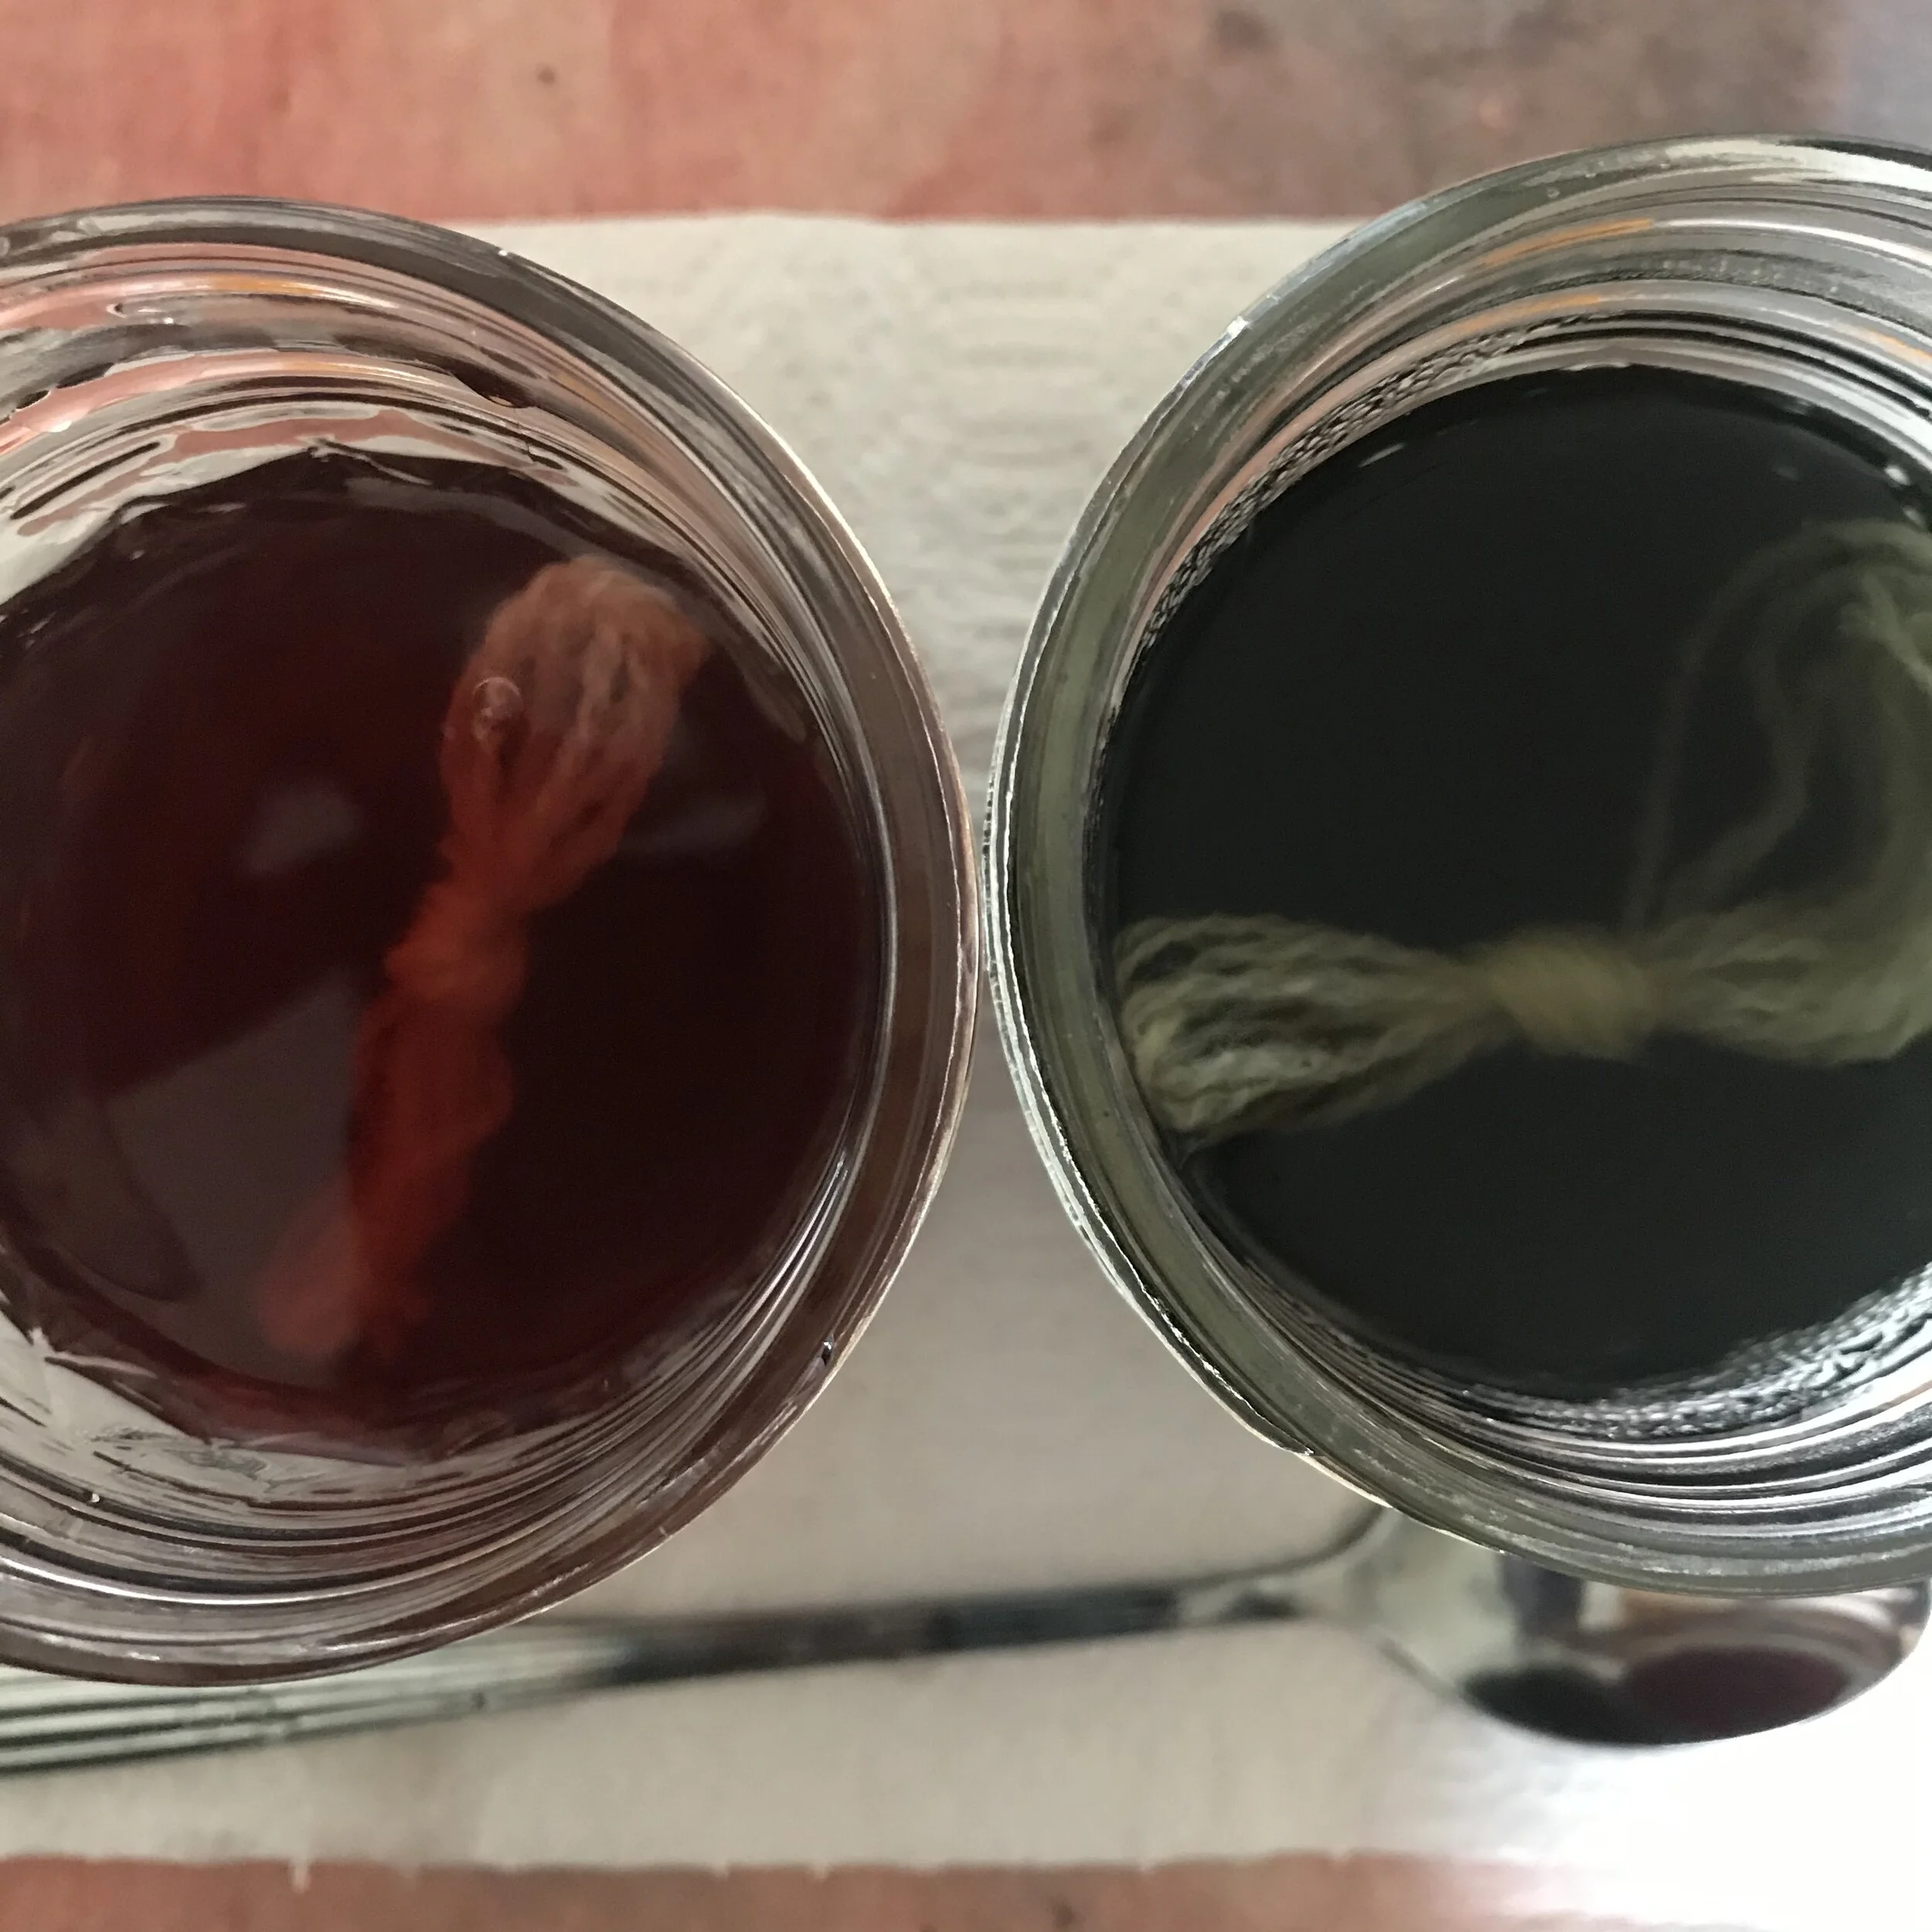
You can make your own rust liquor from a few nails an old glass jar and white vinegar.
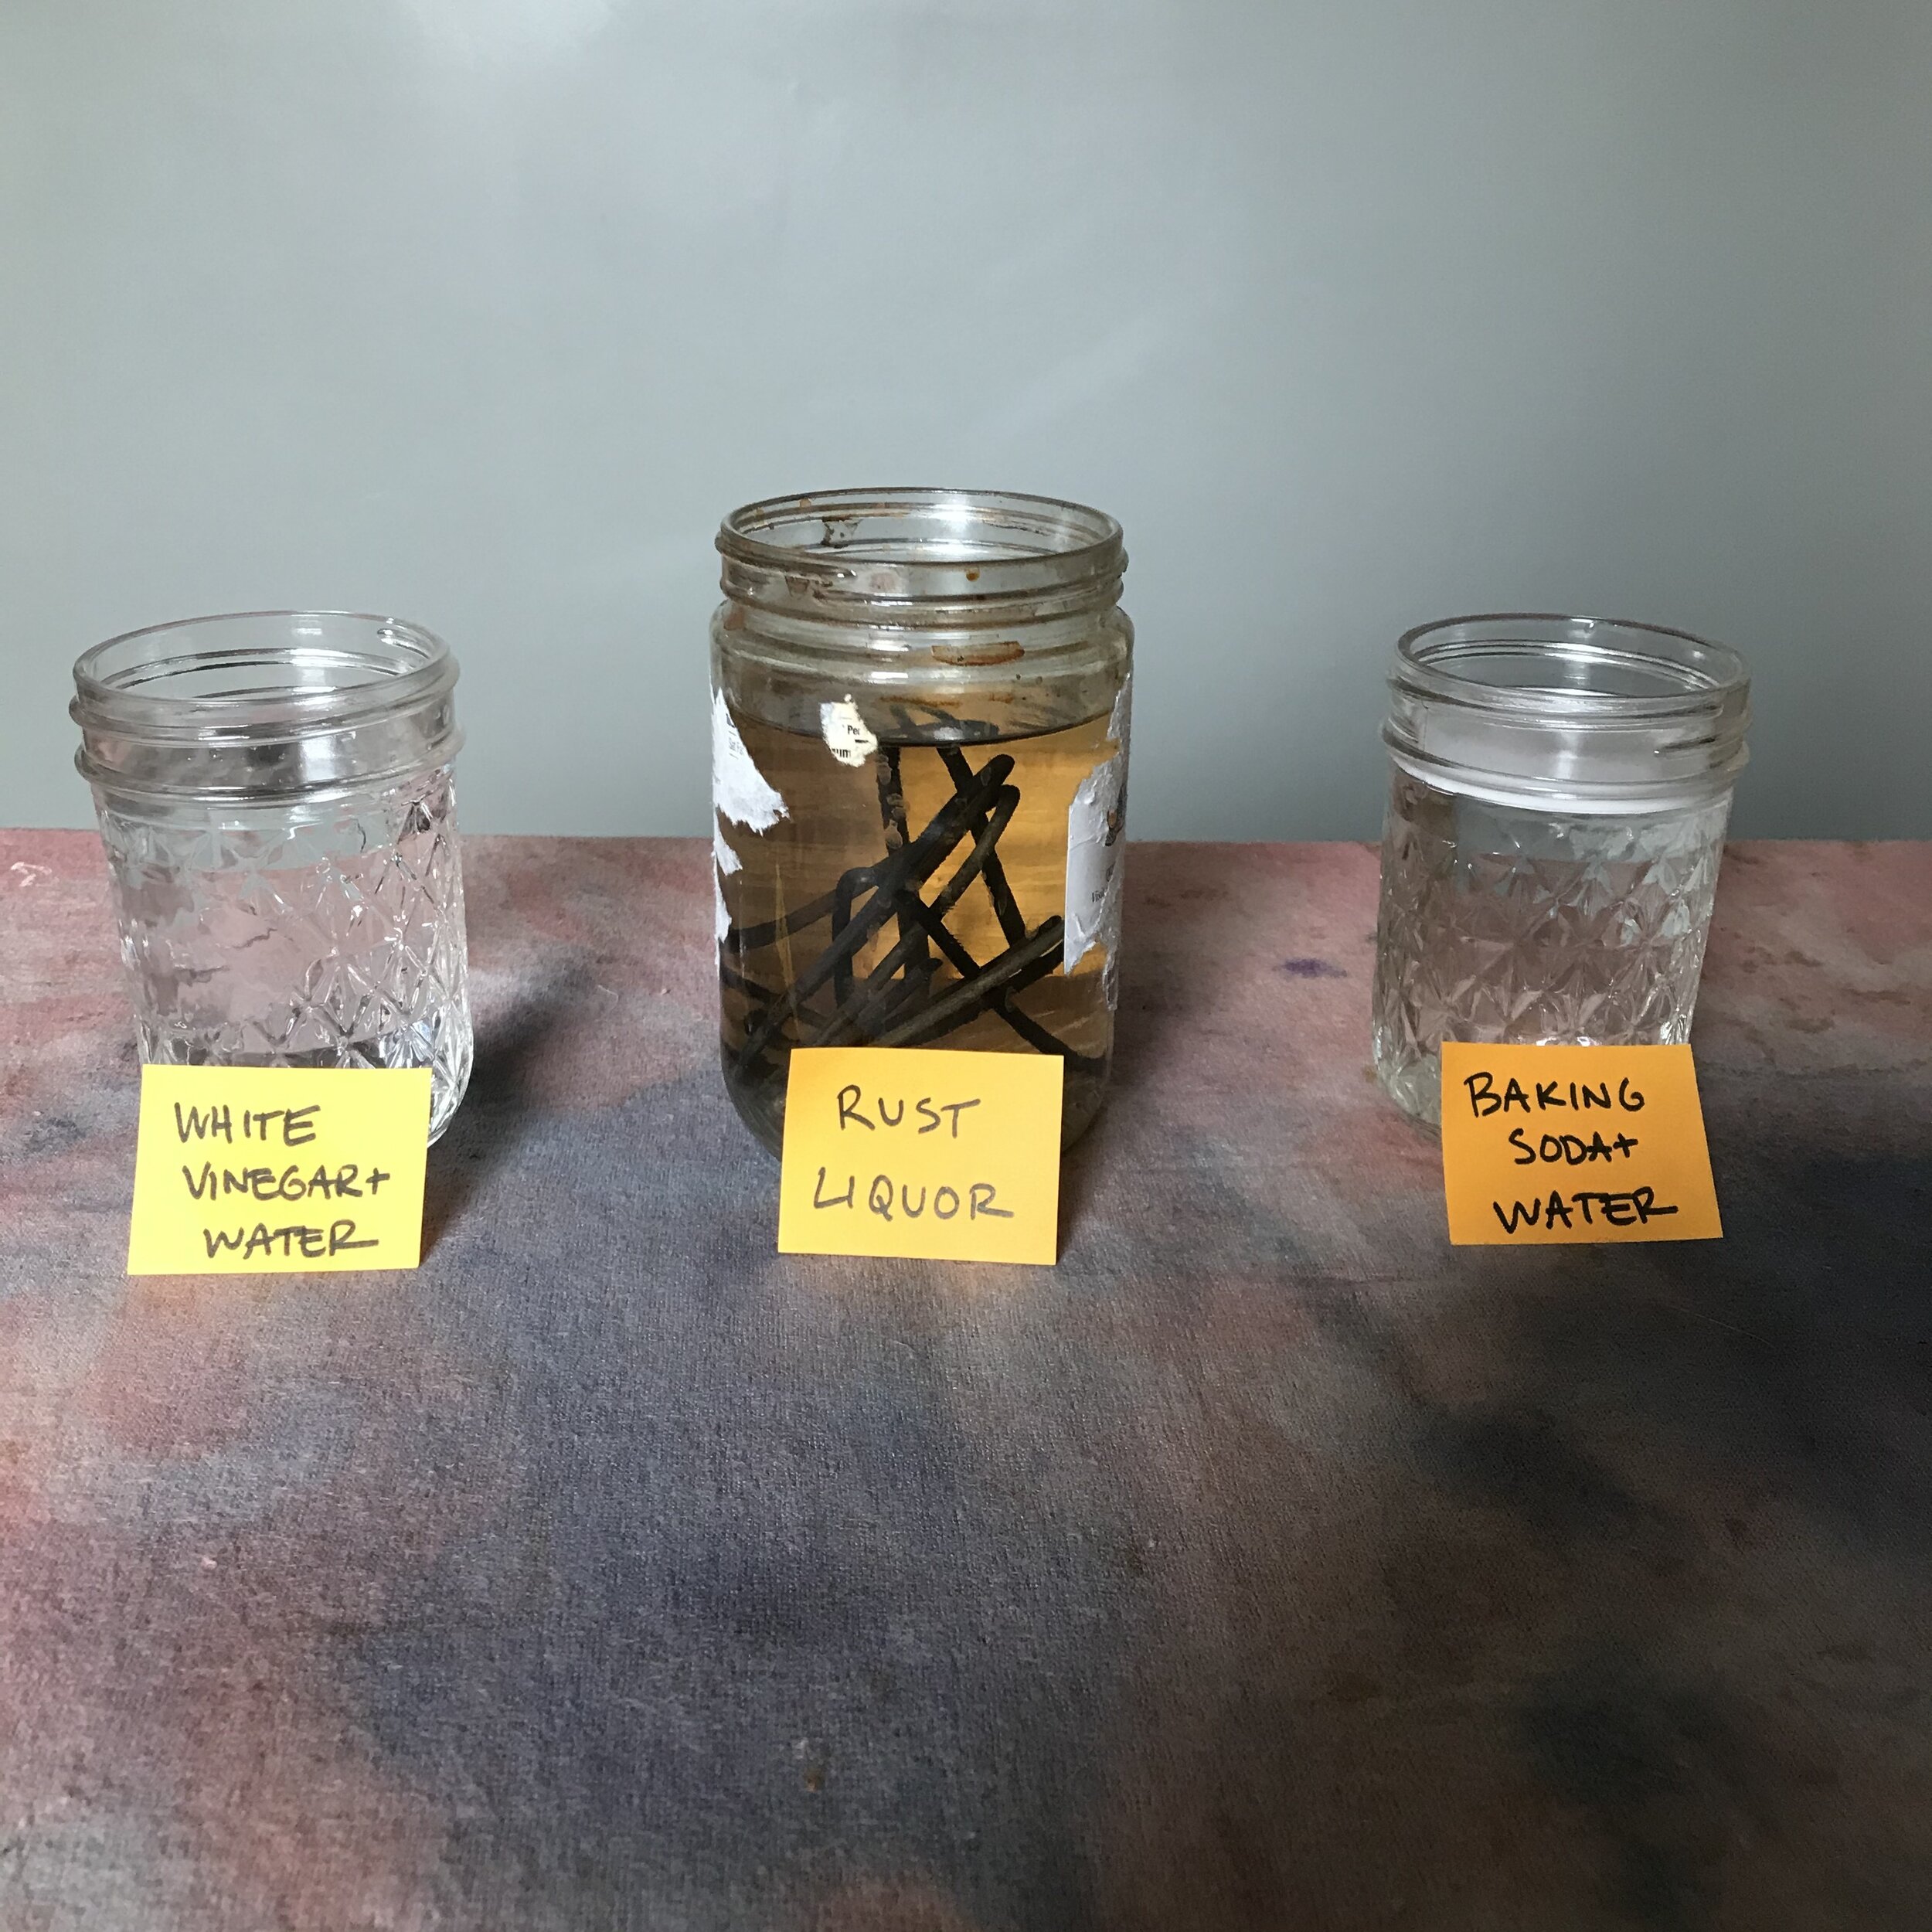
In your jar (I used an old peanut butter jar. I prefer a glass jar but a sturdy plastic jar will work as well) add about 4 or 5 nails. Rusty nails are good, but not necessary, and if you cant find nails, a piece of steel wool works too. Fill the jar 1/3 with white vinegar and 2/3 with water. Loosely place the lid on the jar, you want air to be able to get into the jar to oxidize the metal. We want the rust! Find a safe place to let your jar sit for 2 weeks. You’ll notice in a day or two the liquid goes from clear to a rusty brown color. Its working! Every time you use a little of your rust water, keep adding a bit more water and vinegar and you will always have it on hand.
When dyeing with iron, you will want to use a little of your rust liquor to a pot of water in your dye pot. (think 2 tablespoons to a dye pot filled with water). Room temperature water is needed a little iron liquor. You don’t need too much as a little goes a long way. If after twenty minutes of your fabric being in the iron solution you are wanting a deeper color, add a bit more iron liquor and soak another ten minutes. Once the desired color is reached, remove your fabric with gloved hands and rinse well in cool water and hang dry.
A few notes on safety with ferrous solutions. Use gloves when handling. These are metal salts and it is good practice to not let them get in contact with your skin. Do not drink rust liquor, and immediately flush eyes with water if it splashes into your face. Keep away from pets and kids! They will get much sicker if they accidentally ingest the rust water (and call poison control). Store out of reach of curious creatures.
A few more notes on using iron with your natural dyes. Iron is most commonly used with cellulose fibers. Be careful when using iron with wool or silk. Iron can make wool fibers brittle or degrade silk fibers. When using iron with these fabrics, use a weak iron solution and rinse really well.
Iron sticks around for a while. Meaning, if you use iron in your dye pot, no matter how well, you wash the pot after, there will still remain trace amounts of iron particles. Some dyers keep a separate pot and utensils for iron. Never use iron with anything you may cook or eat out of. This is a good rule to play by. Keep your dye pot and utensils separate from your everyday cookware.
Now for the fun part.. presto change-o colors!
For this tutorial I will demonstrate on pre dyed fabrics, and also wool yarn. You will immediately see the effects on wool and pre dyed fabrics If we were to start from scratch in the dye pot, most dyes take a few hours or days to reach the desired color. This is a fun way to show you a few dyes in a short amount of time.
I will be dipping dyed cloth into these
To learn how to naturally dye your own fabrics, check out my other tutorials HERE.
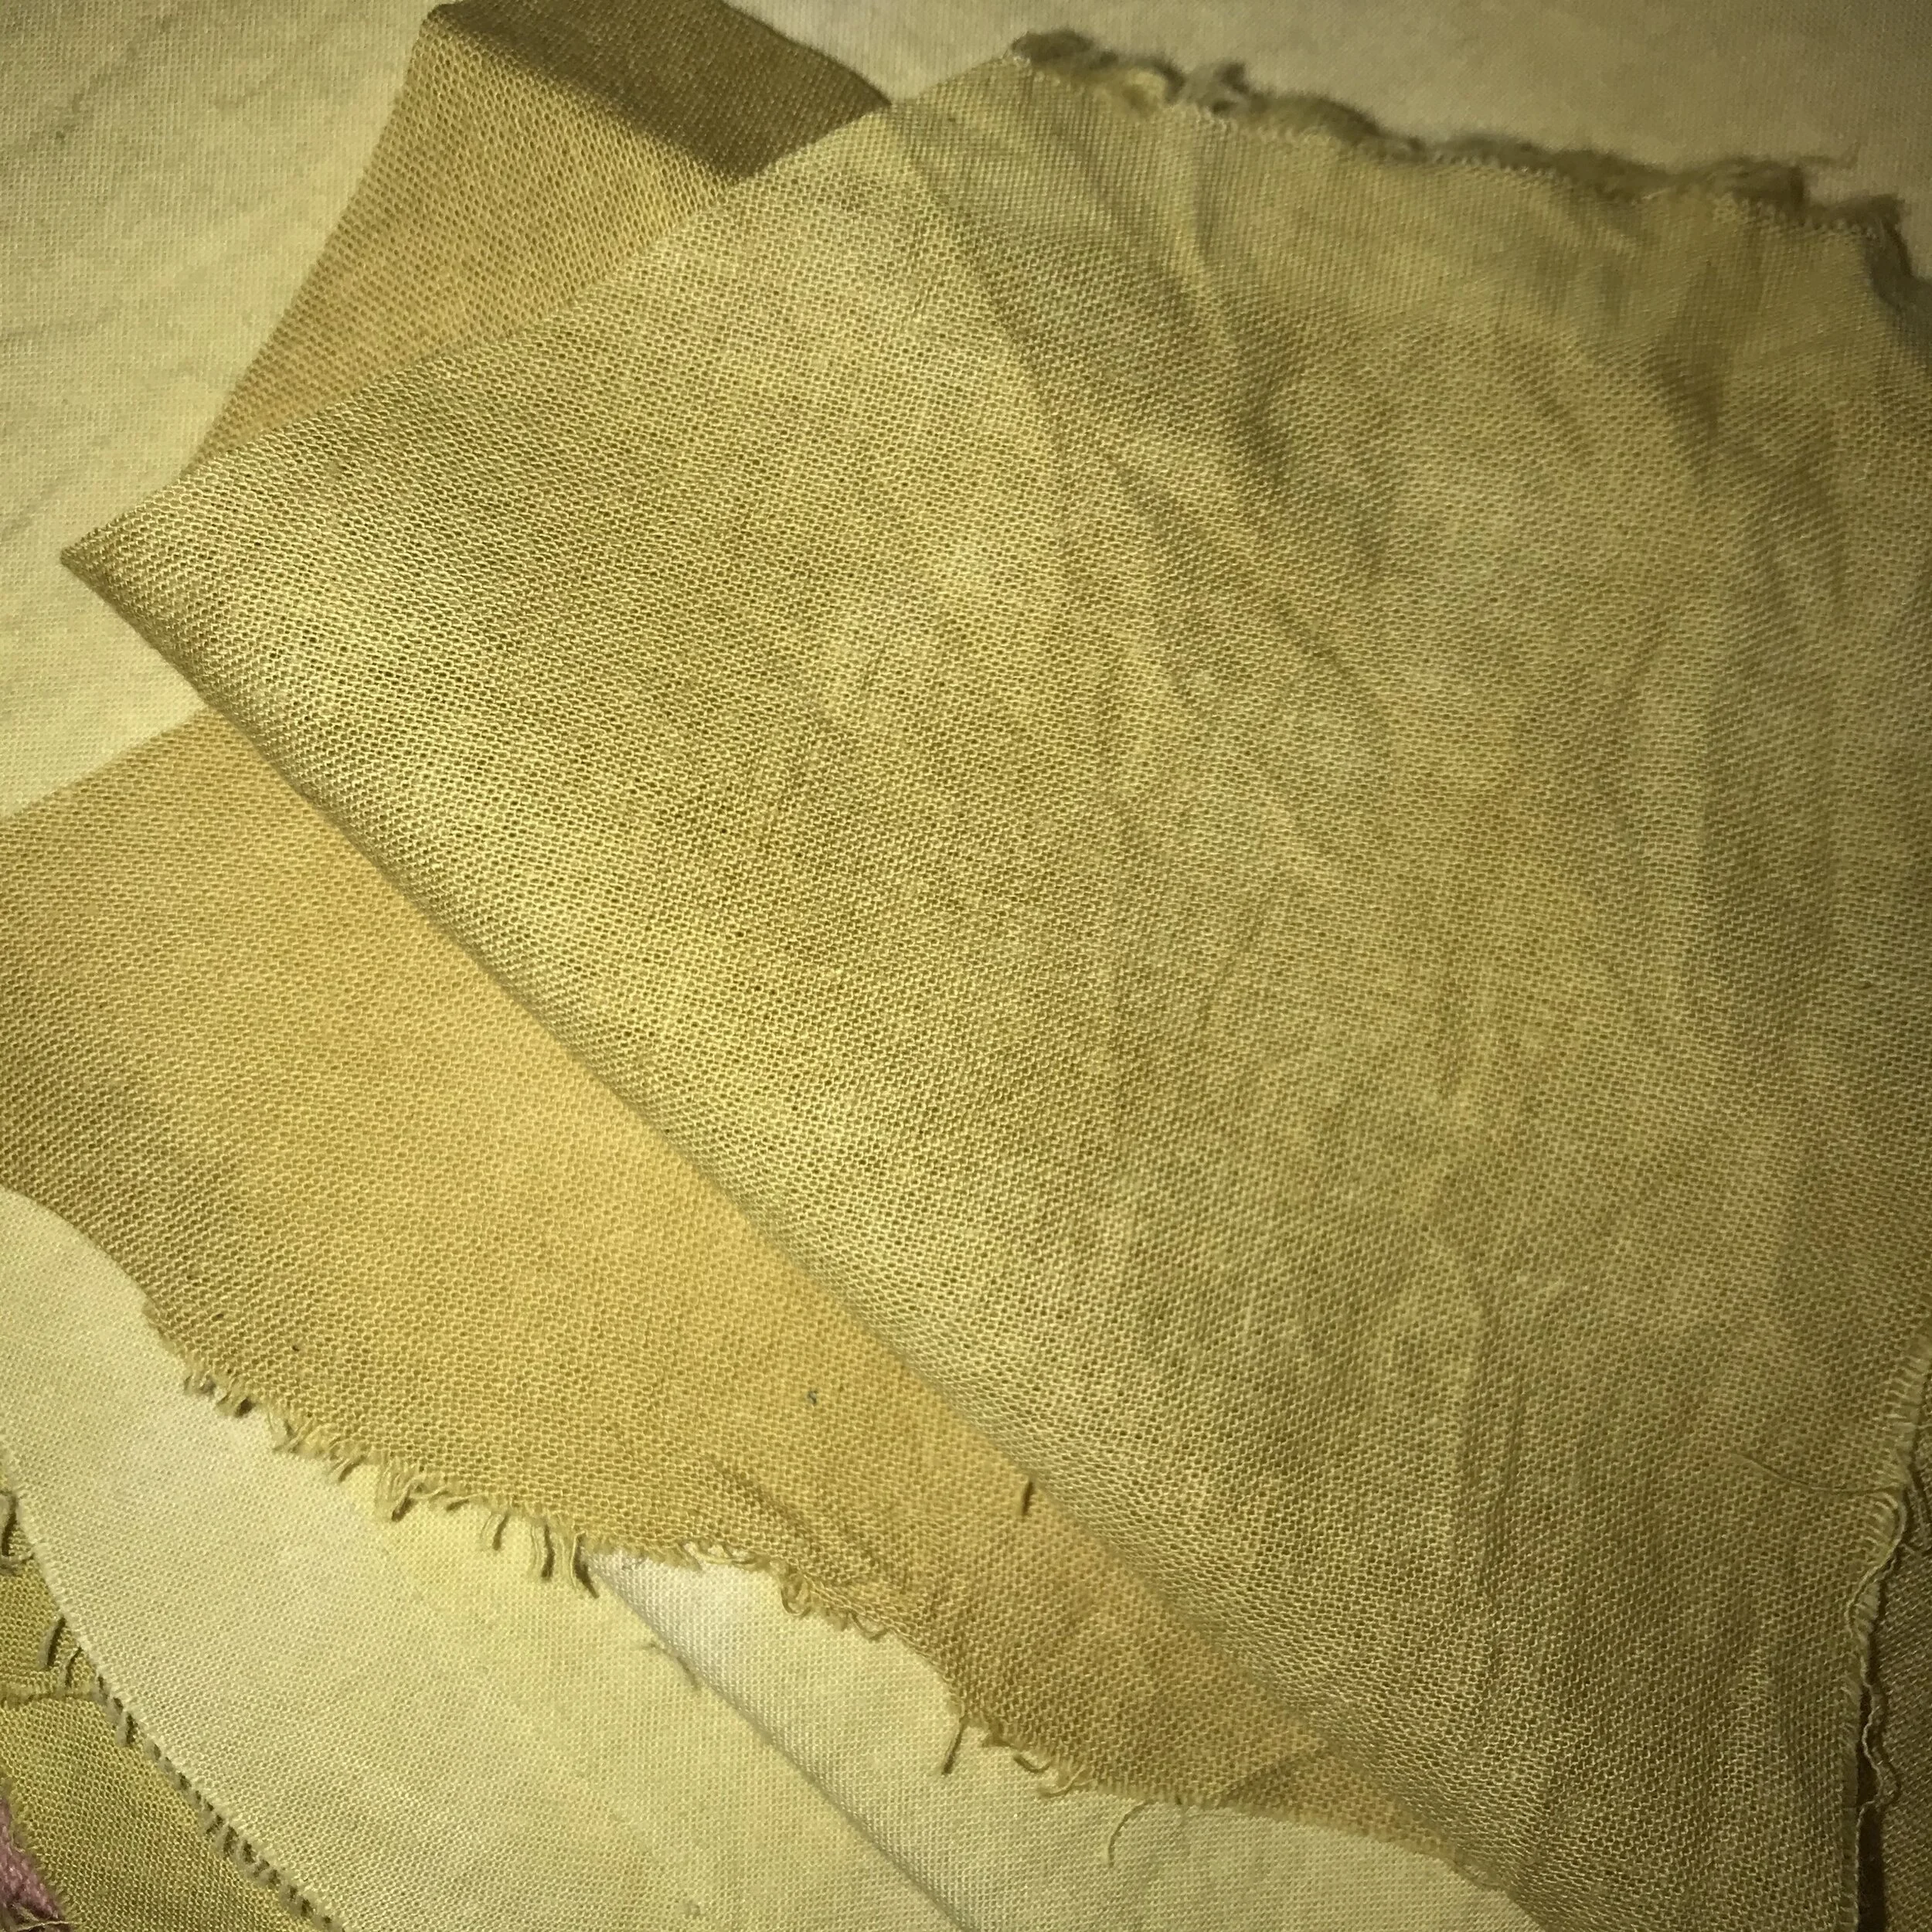
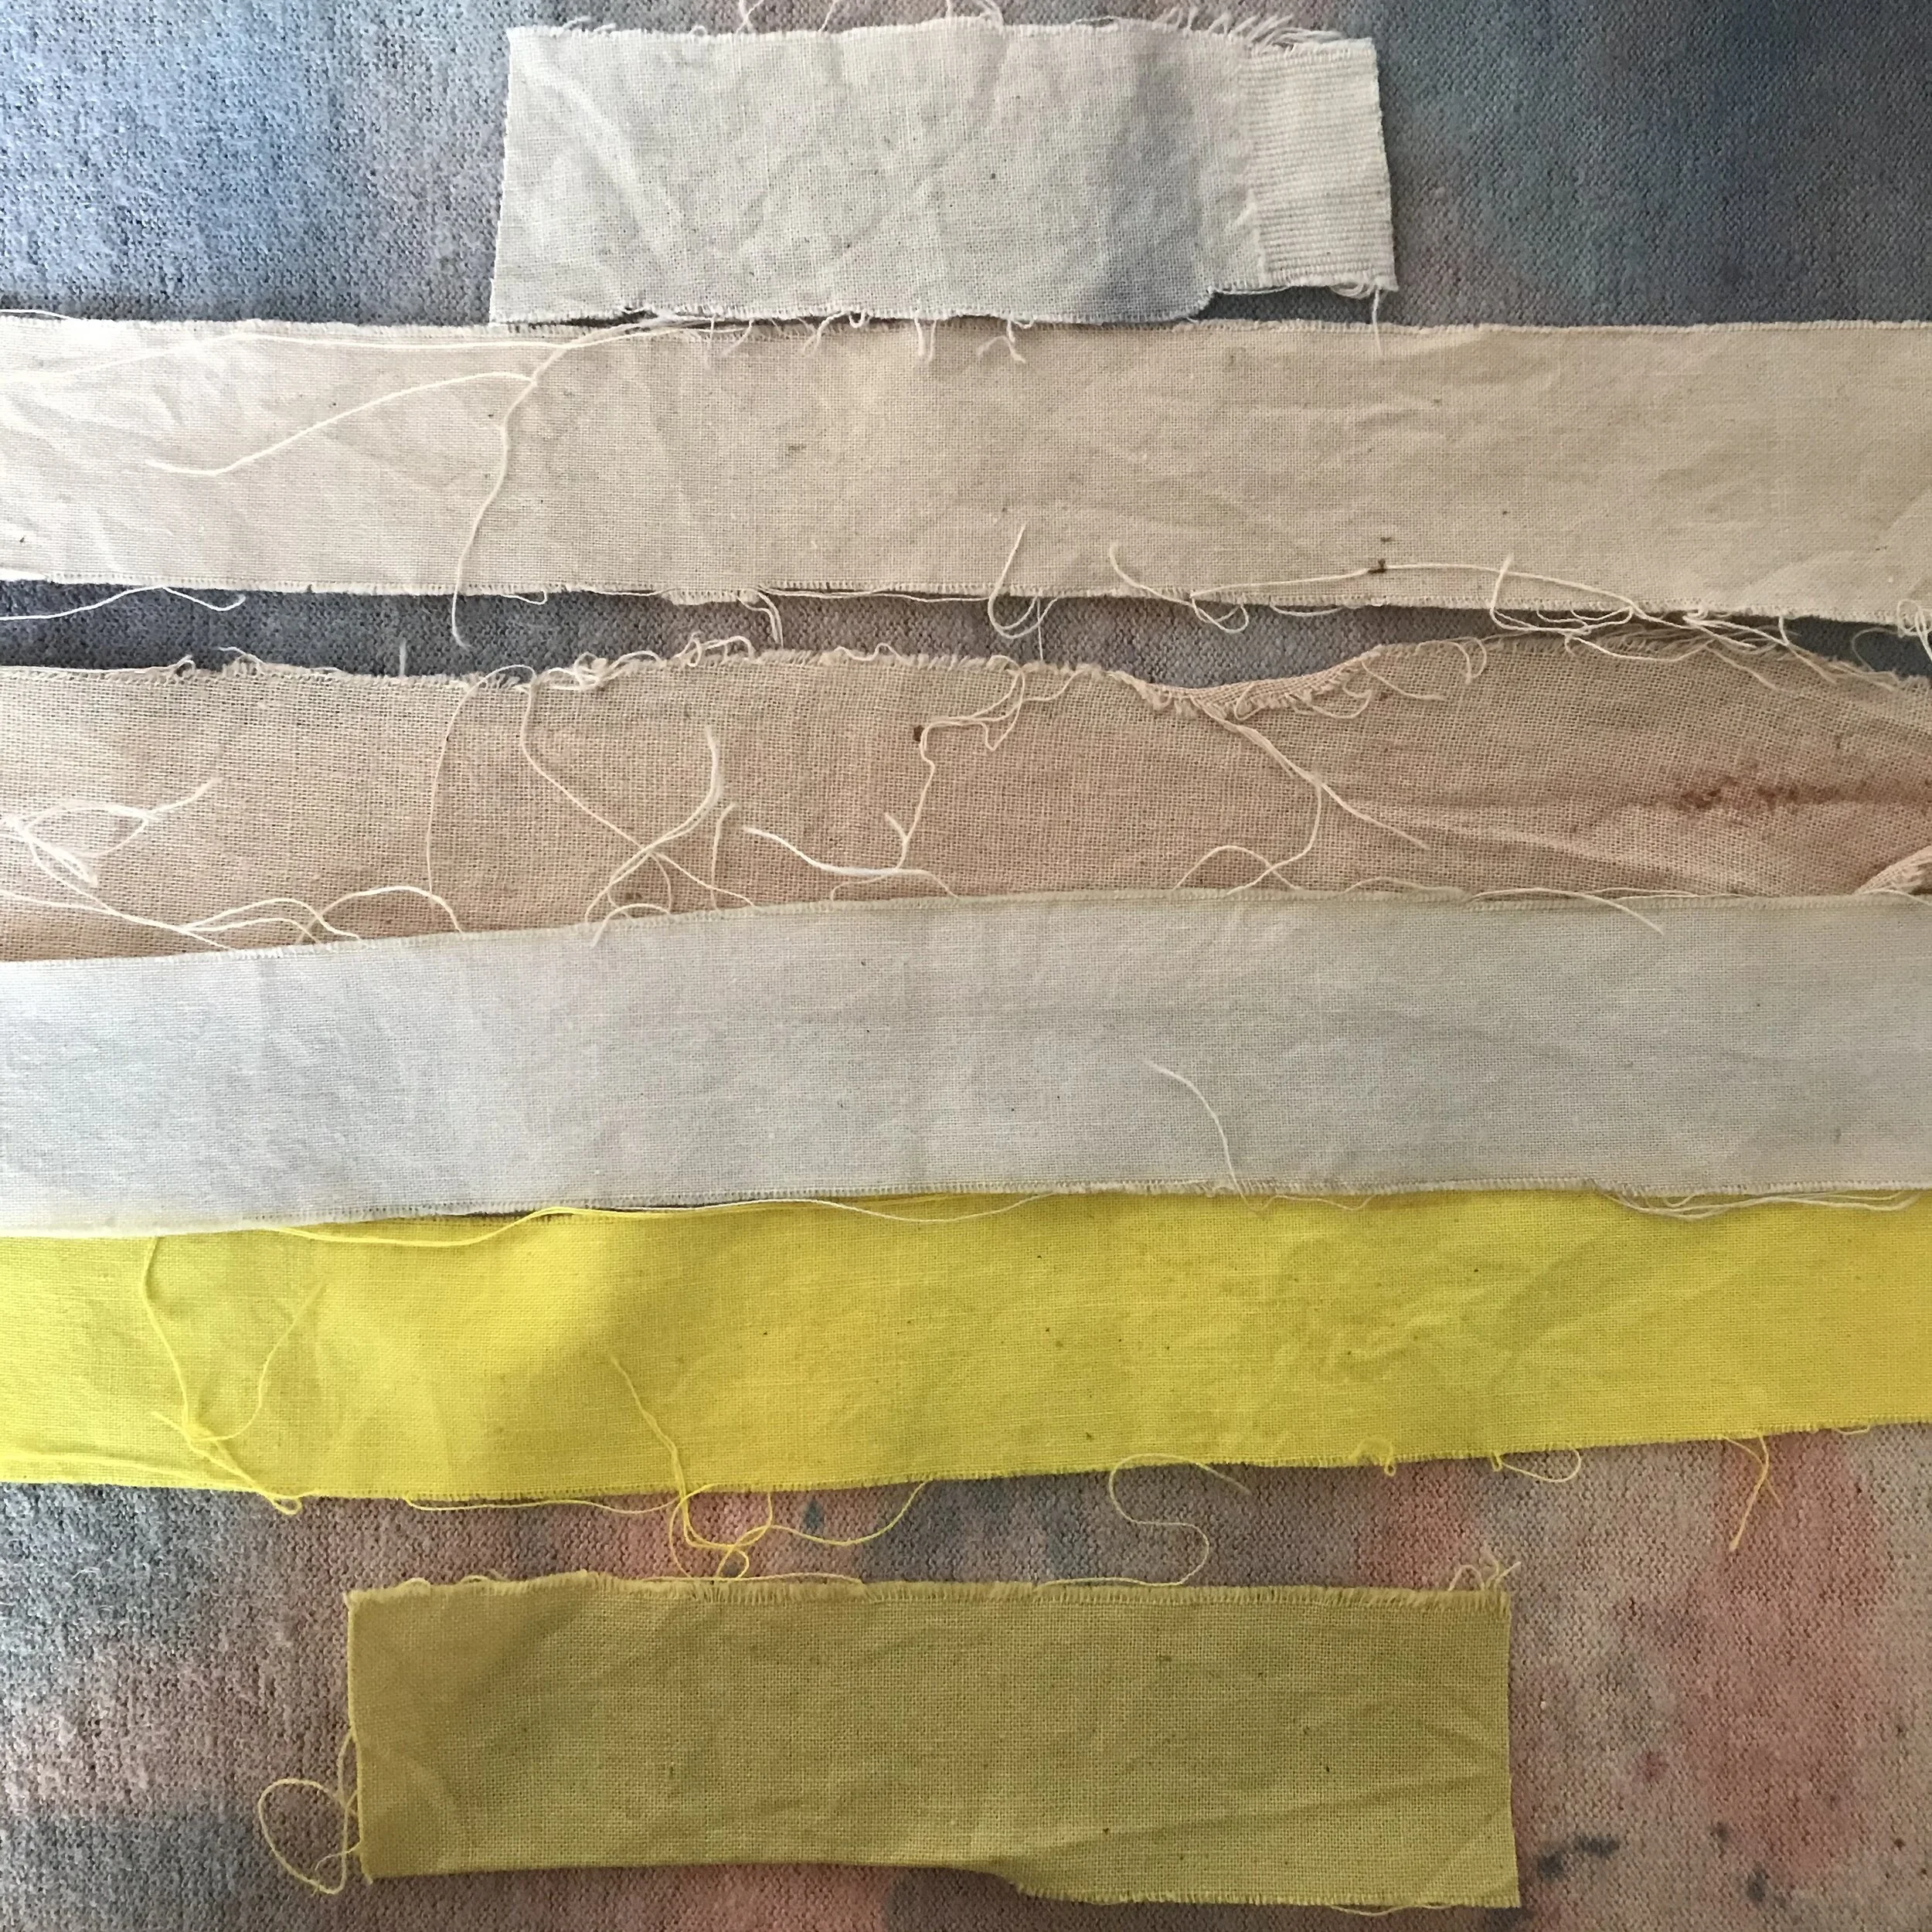
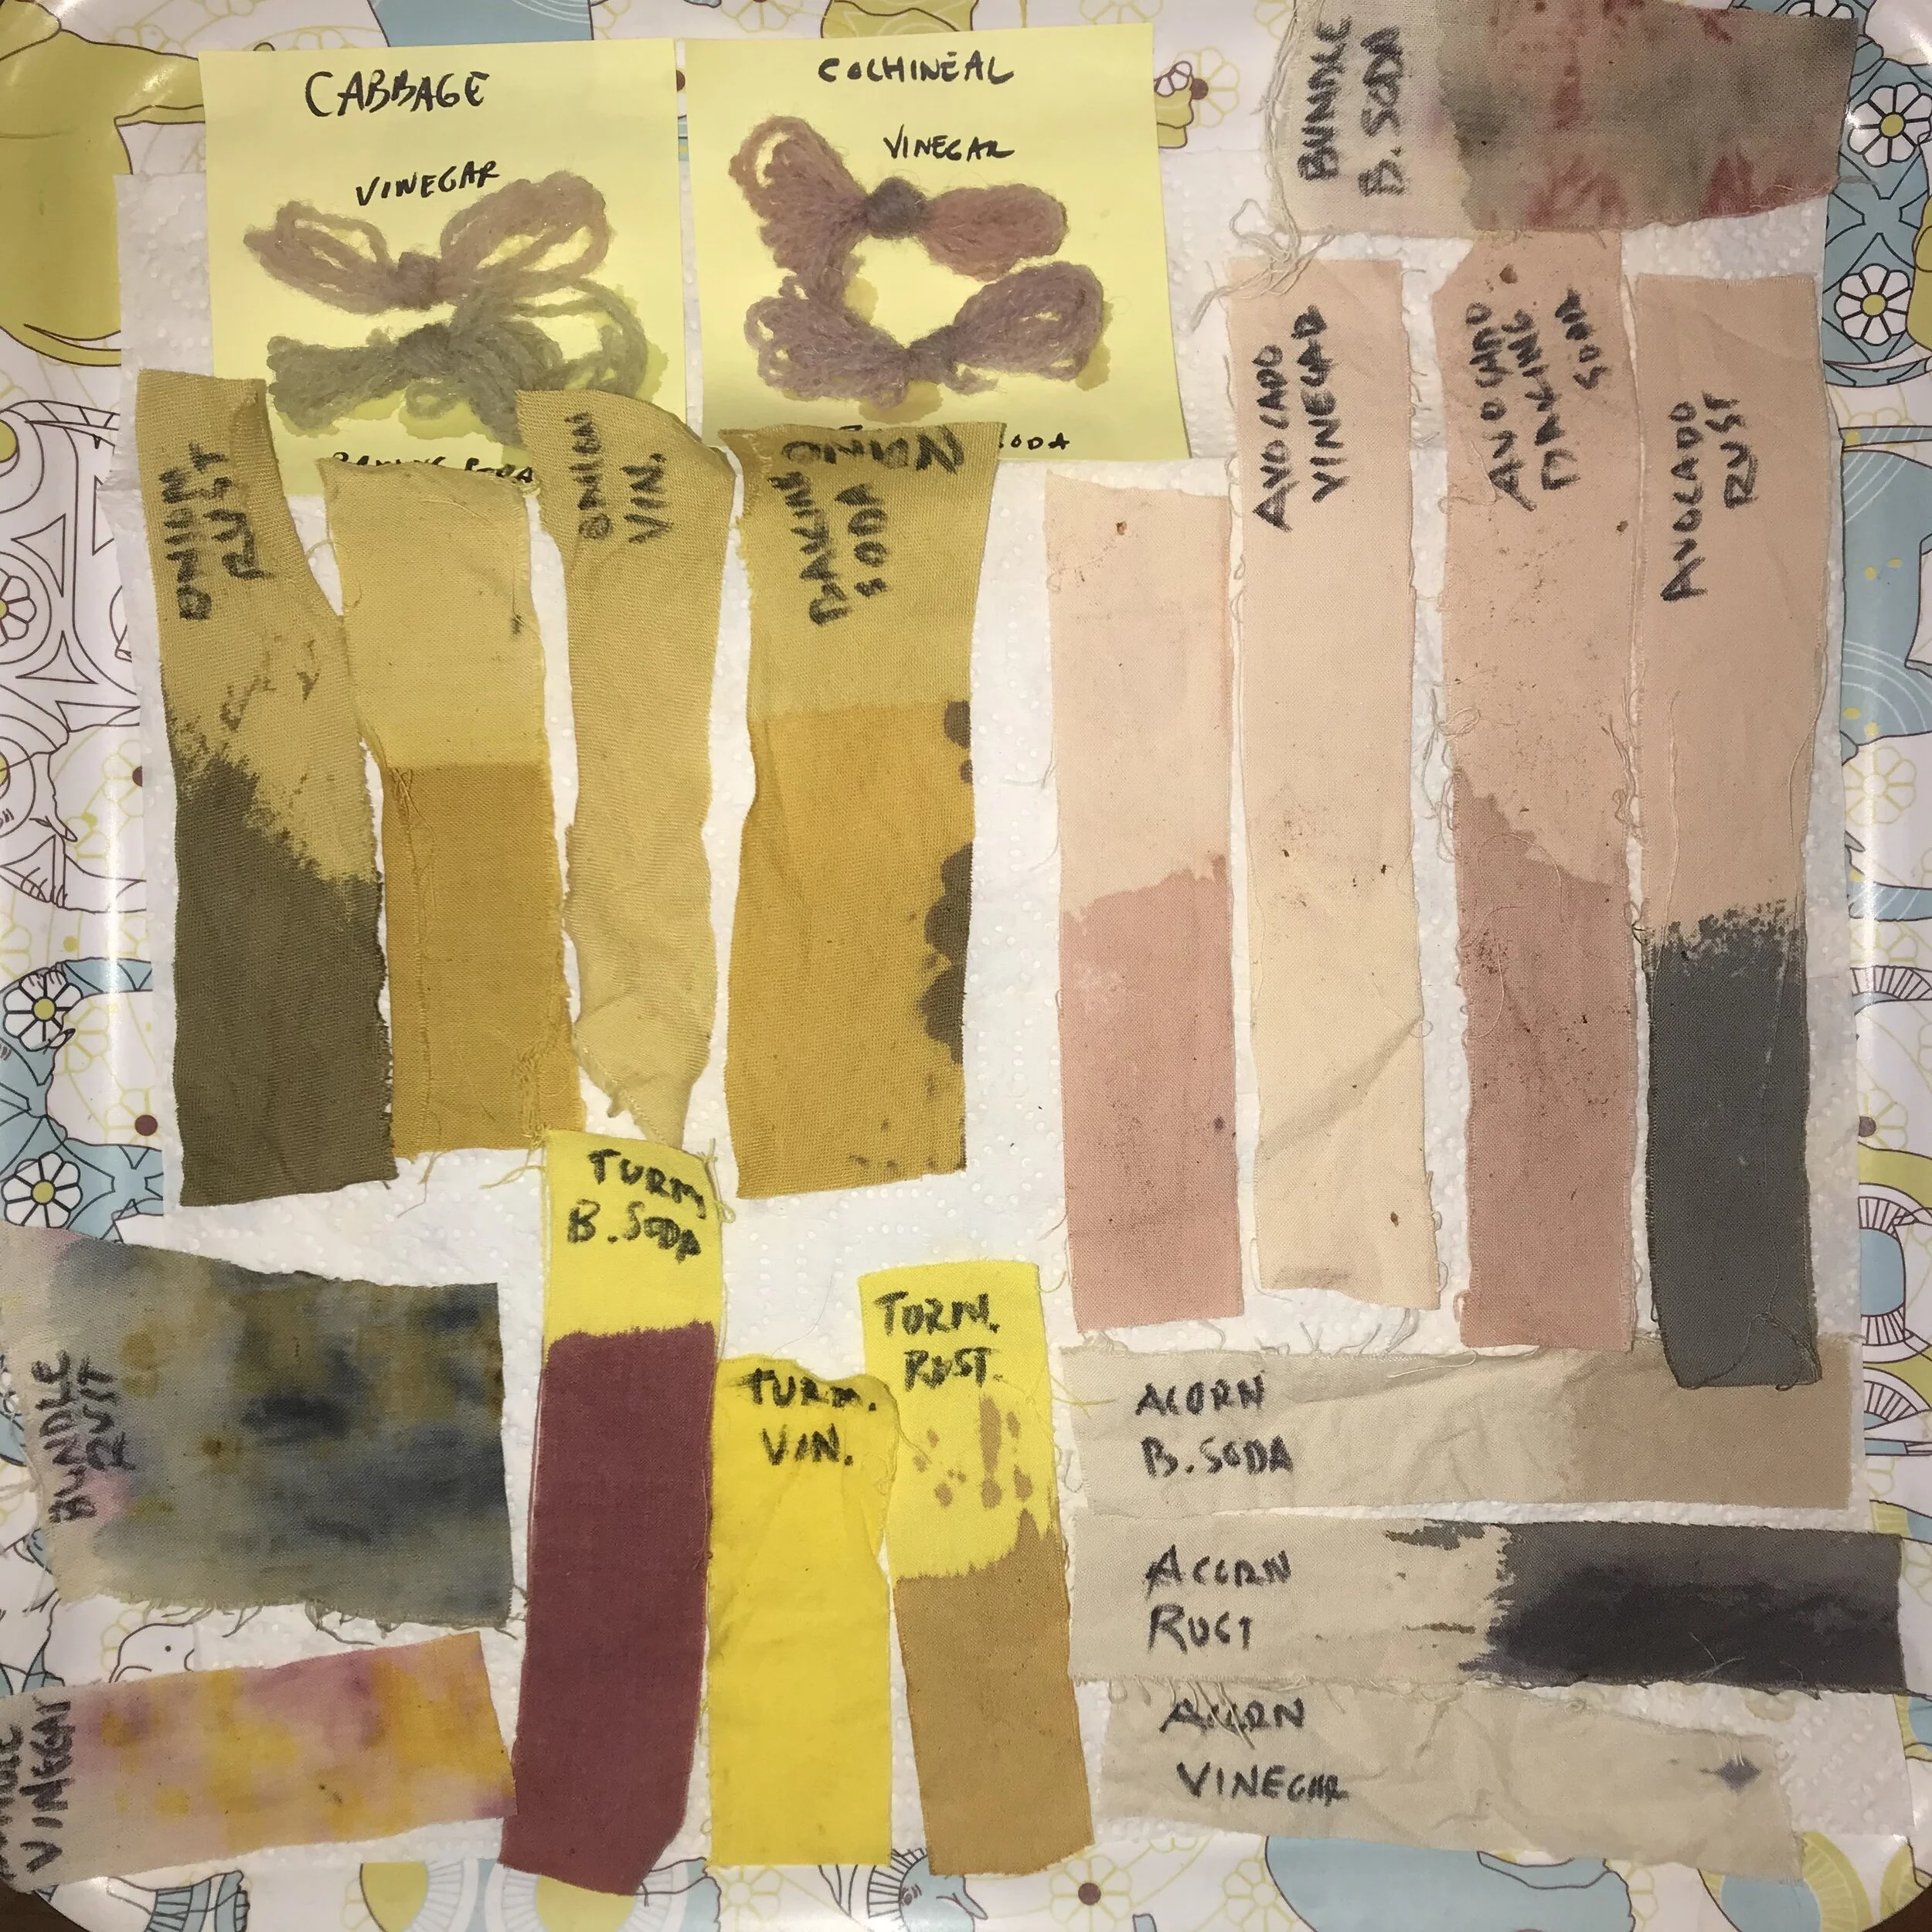
Onion skin dyed cotton.

Onion skin dyed fabric dipped in modifiers . Left in vinegar, middle in rust, and right in baking soda. The bottom is half dipped in vinegar and half in baking soda. See how the baking soda shirts the color to orange, and the rust shifts the color to a gray- green.

Avocado dyed fabric.

Avocado dyed fabric dipped in modifiers. Left in vinegar, middle in rust, and right in baking soda. Bottom scrap is half dyed in vinegar and baking soda. The vinegar brought the color to more of a peachy yellow, the rust turned the avocado gray and the baking soda shifted the color to a deeper pink.

Turmeric dyed fabric.

Turmeric dyed fabric dipped in modifiers. Top in baking soda, middle in rust, and bottom in vinegar. Baking soda shifts turmeric red and rust turns turmeric orange.

Acorn dyed fabric.

Acorn dyed fabric dipped in modifiers. Top in baking soda, middle in rust, and bottom in vinegar. The baking soda slightly shifted the cool tan of the acorn to a warm tan and the rust turns the dye a beautiful deep gray.

Close up of the rust on acorn dyed fabric. The acorn dye doesn’t look like much, but it is often combined with rust to create deep grays. The tannin acids in the acorns, combined with the iron, make this dye very stable and wash fast.

Red cabbage dye.
Red cabbage dye with vinegar added on the left and baking soda added on the right.

Bundle dyed fabric. The piece on the right is dyed with turmeric and hibiscus tea. That is the piece we will be modifying.

The bundle dyed fabric in vinegar on the left, which brightened the colors. In rust on the right, which darkened both the hibiscus and turmeric to deep blues and greens. On the right, dipped in baking soda, the turmeric changed to red and the hibiscus to navy.

Cochineal dye in the middle.

Cochineal dye added to vinegar on the left and baking soda on the right. The yarns are both dyed with cochineal, the top with vinegar and the bottom with baking soda.
Final results of the pH modifiers. Who knew making a rainbow was so easy.
If you liked this tutorial, let us know in the comments below. Sign up for our not so often newsletter to find out about events and workshops. To shop our naturally dyed clothes go HERE.